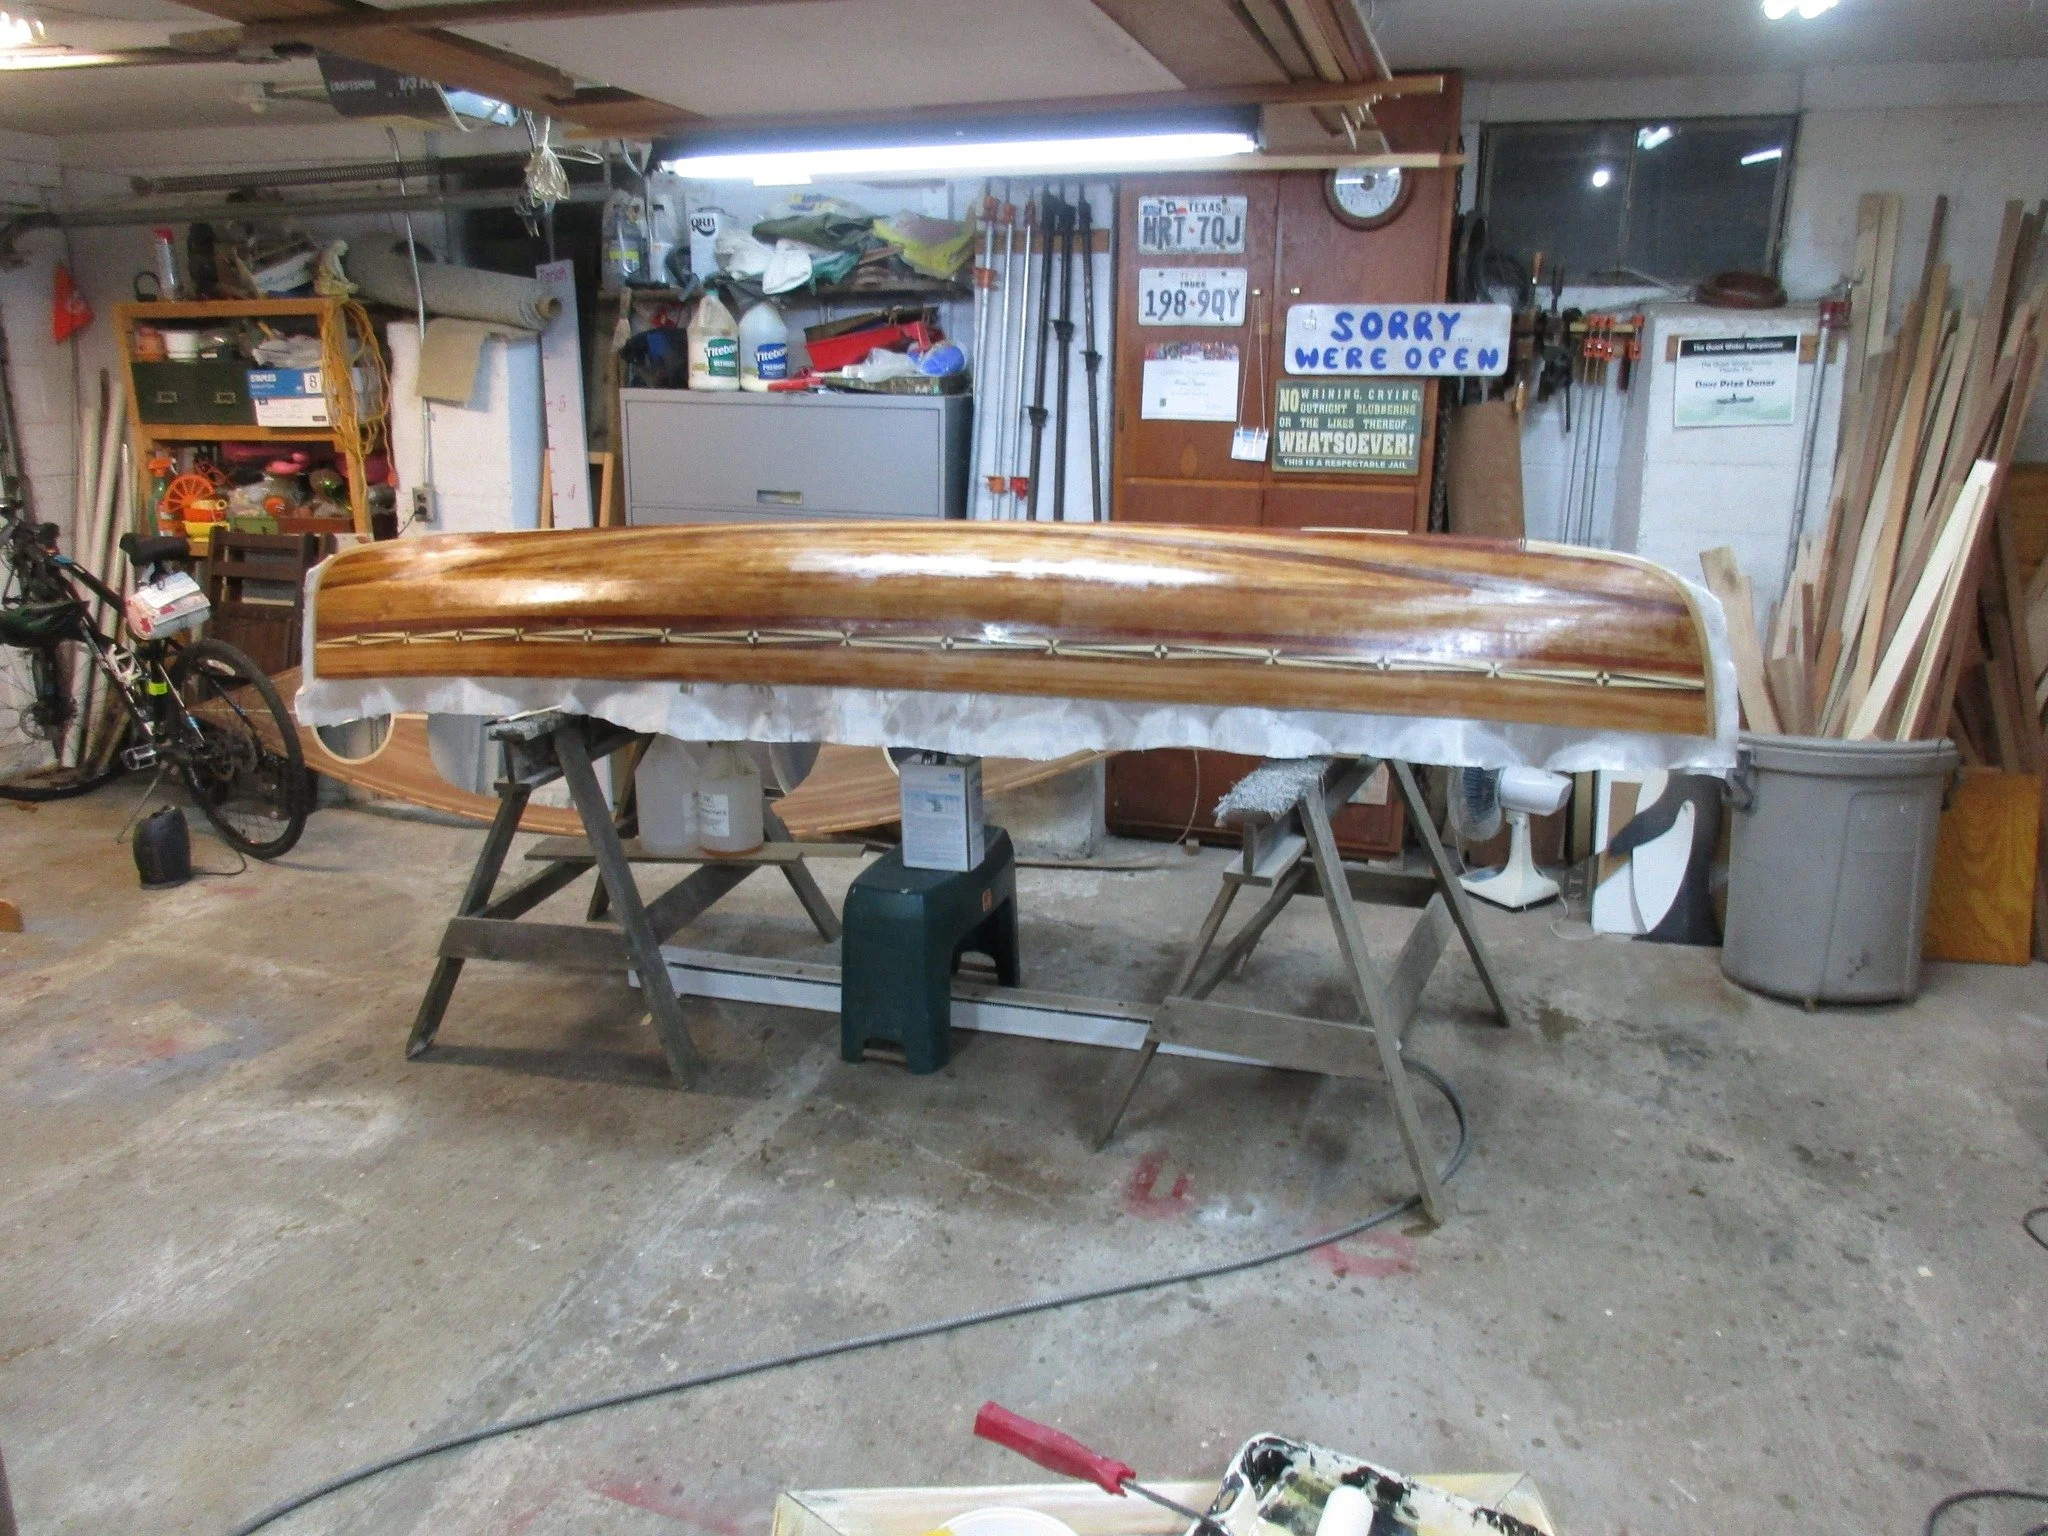
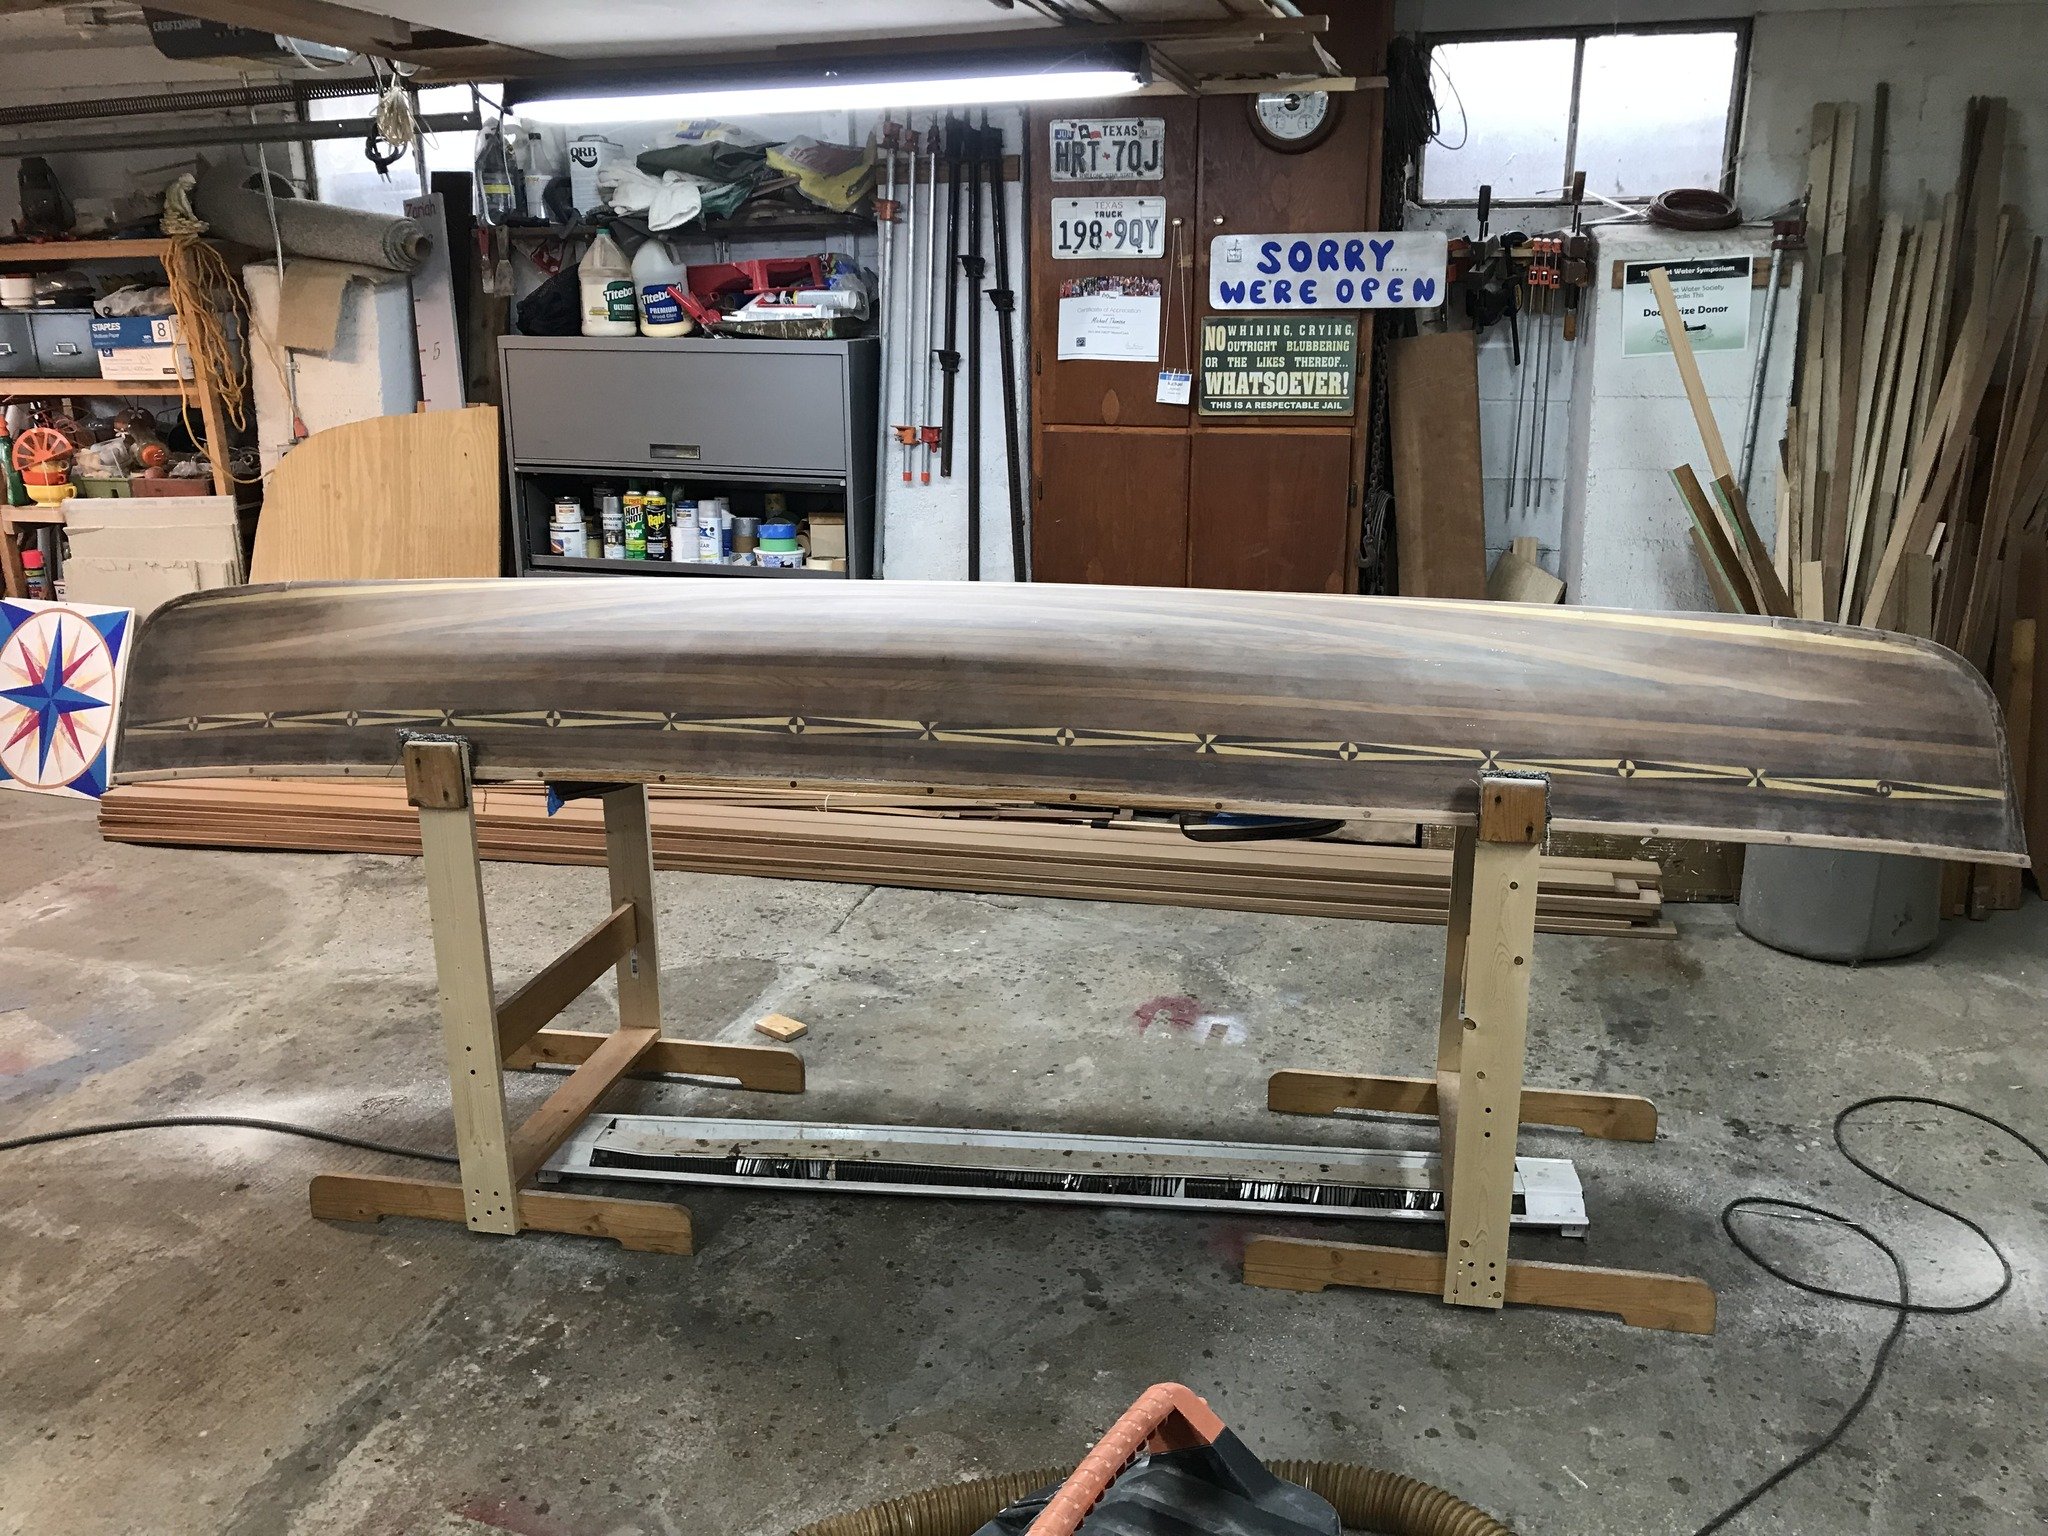
I started yesterday morning at 5 and just finished this morning at 3:30. Yesterday was a busy one with errands to run, doctor's appointment and 4 coats of resin on the boat. Before putting on the last coat of resin I trimmed most of the fiberglass off of the boat with a razor knife. There are now 5 coats of resin on the exterior and I think that will be enough.
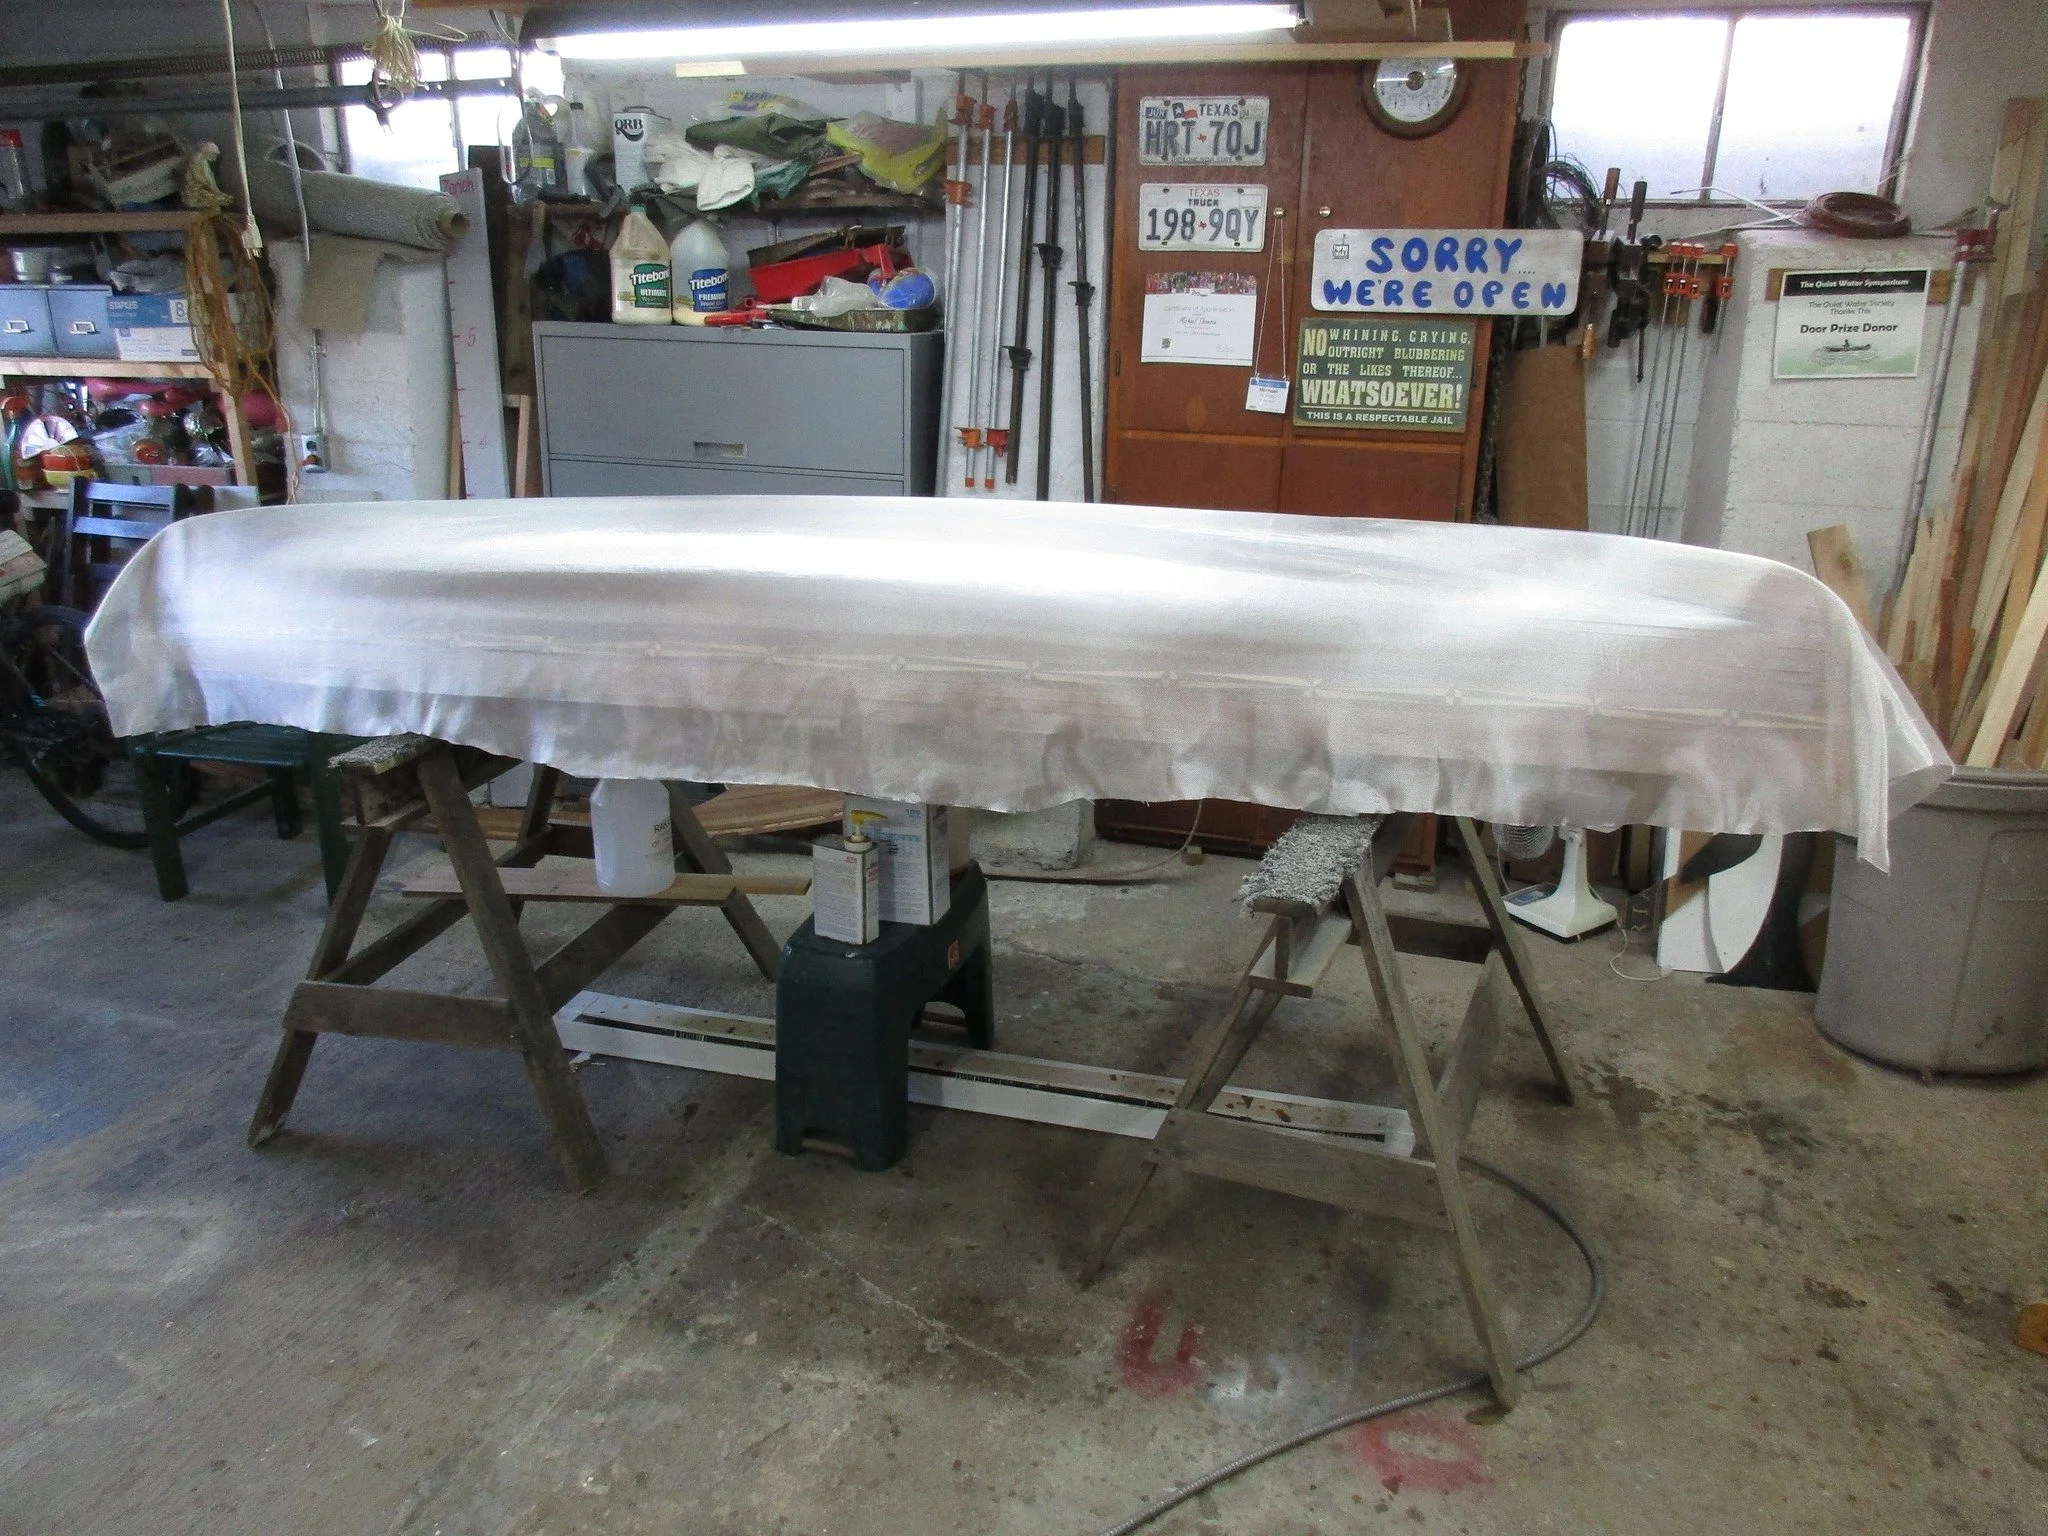
Read MoreThis is what the 6 oz. fiberglass cloth looks like before it is wetted out with the epoxy resin. I like to give the cloth time to hang on the boat for a couple days to make sure that it is as wrinkle free as I can get it before I start with the resin.
Read MoreSneak preview. The last couple days have been a sandorama. I got the stems installed and shaped to match the hull and then I started wearing out sheets of sandpaper. When the hull split in multiple places in the process of getting it off of the form I glued them all back together and that left a lot of glue residue on the hull. I had already sanded the hull smooth but the dried glue caused me to have to go back over the whole thing. That plus shaping the stems made for a lot of hours of sanding.
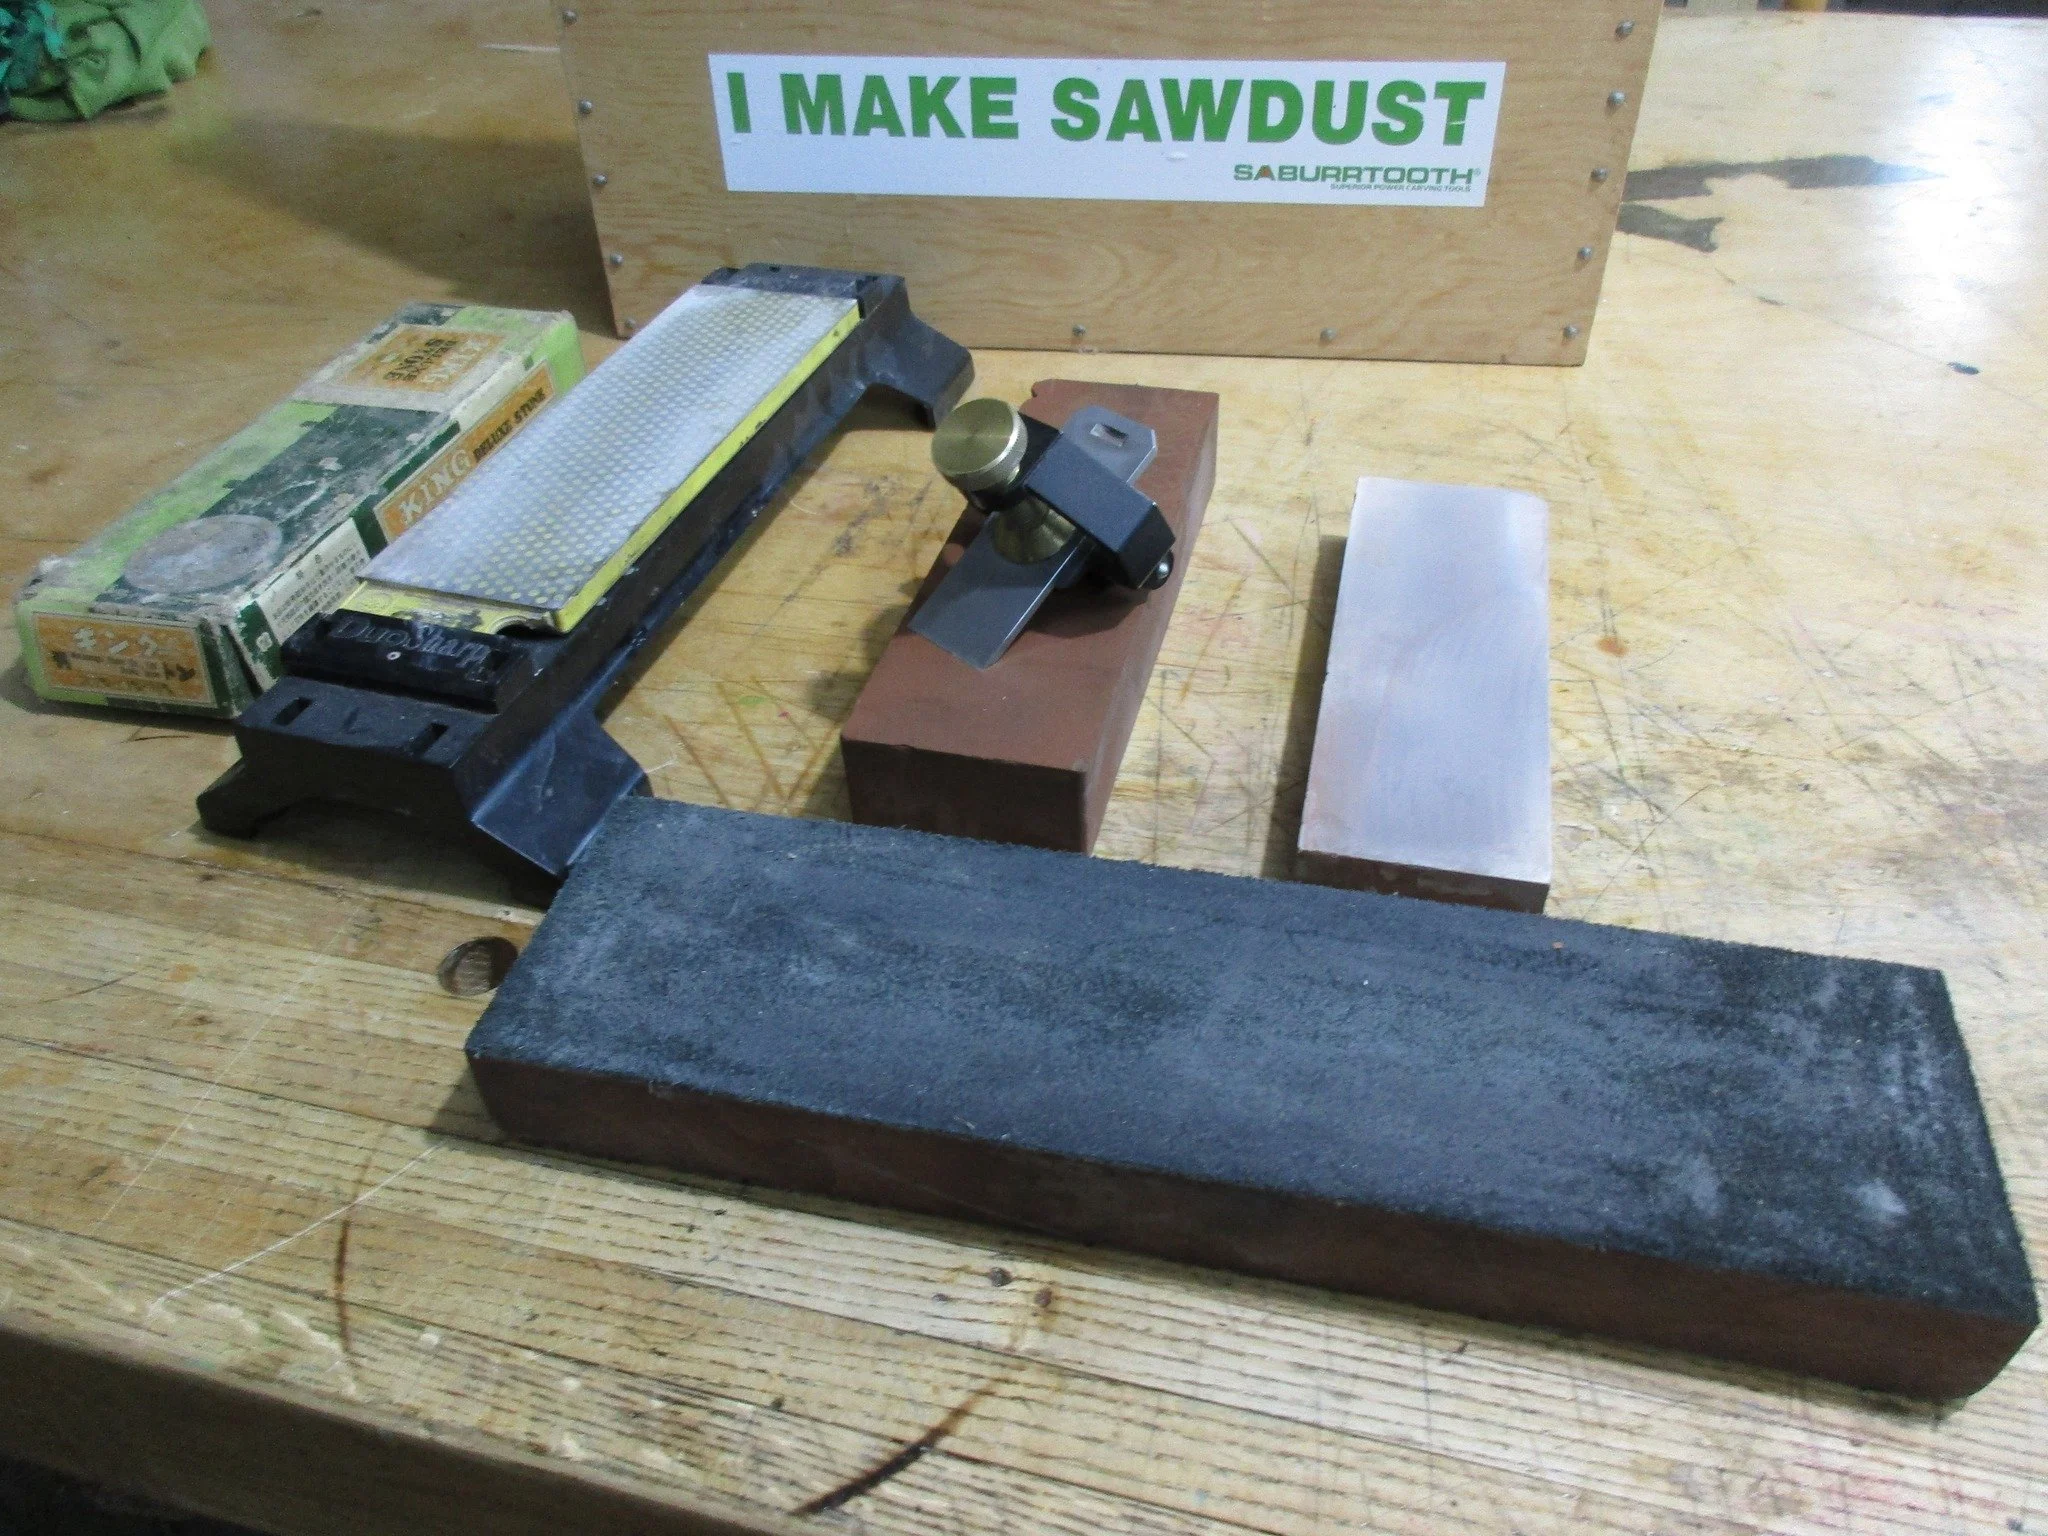
Read MoreIt's that time again. I pulled out some planes to shape the boat stems and was reminded that they need to be sharpened every so often. This is my sharpening kit; a combination diamond steel 400/600 grit, a 1200 grit King water stone, a combination water stone 3000 and 8000 grit and a leather strop that Martin gifted me. I use a Veritas honing guide to hold the blades while sharpening. Buddy Luke laughs at me for using the guide, says a real craftsman can sharpen blades without the use of a guide. I'm going to keep using the guide.
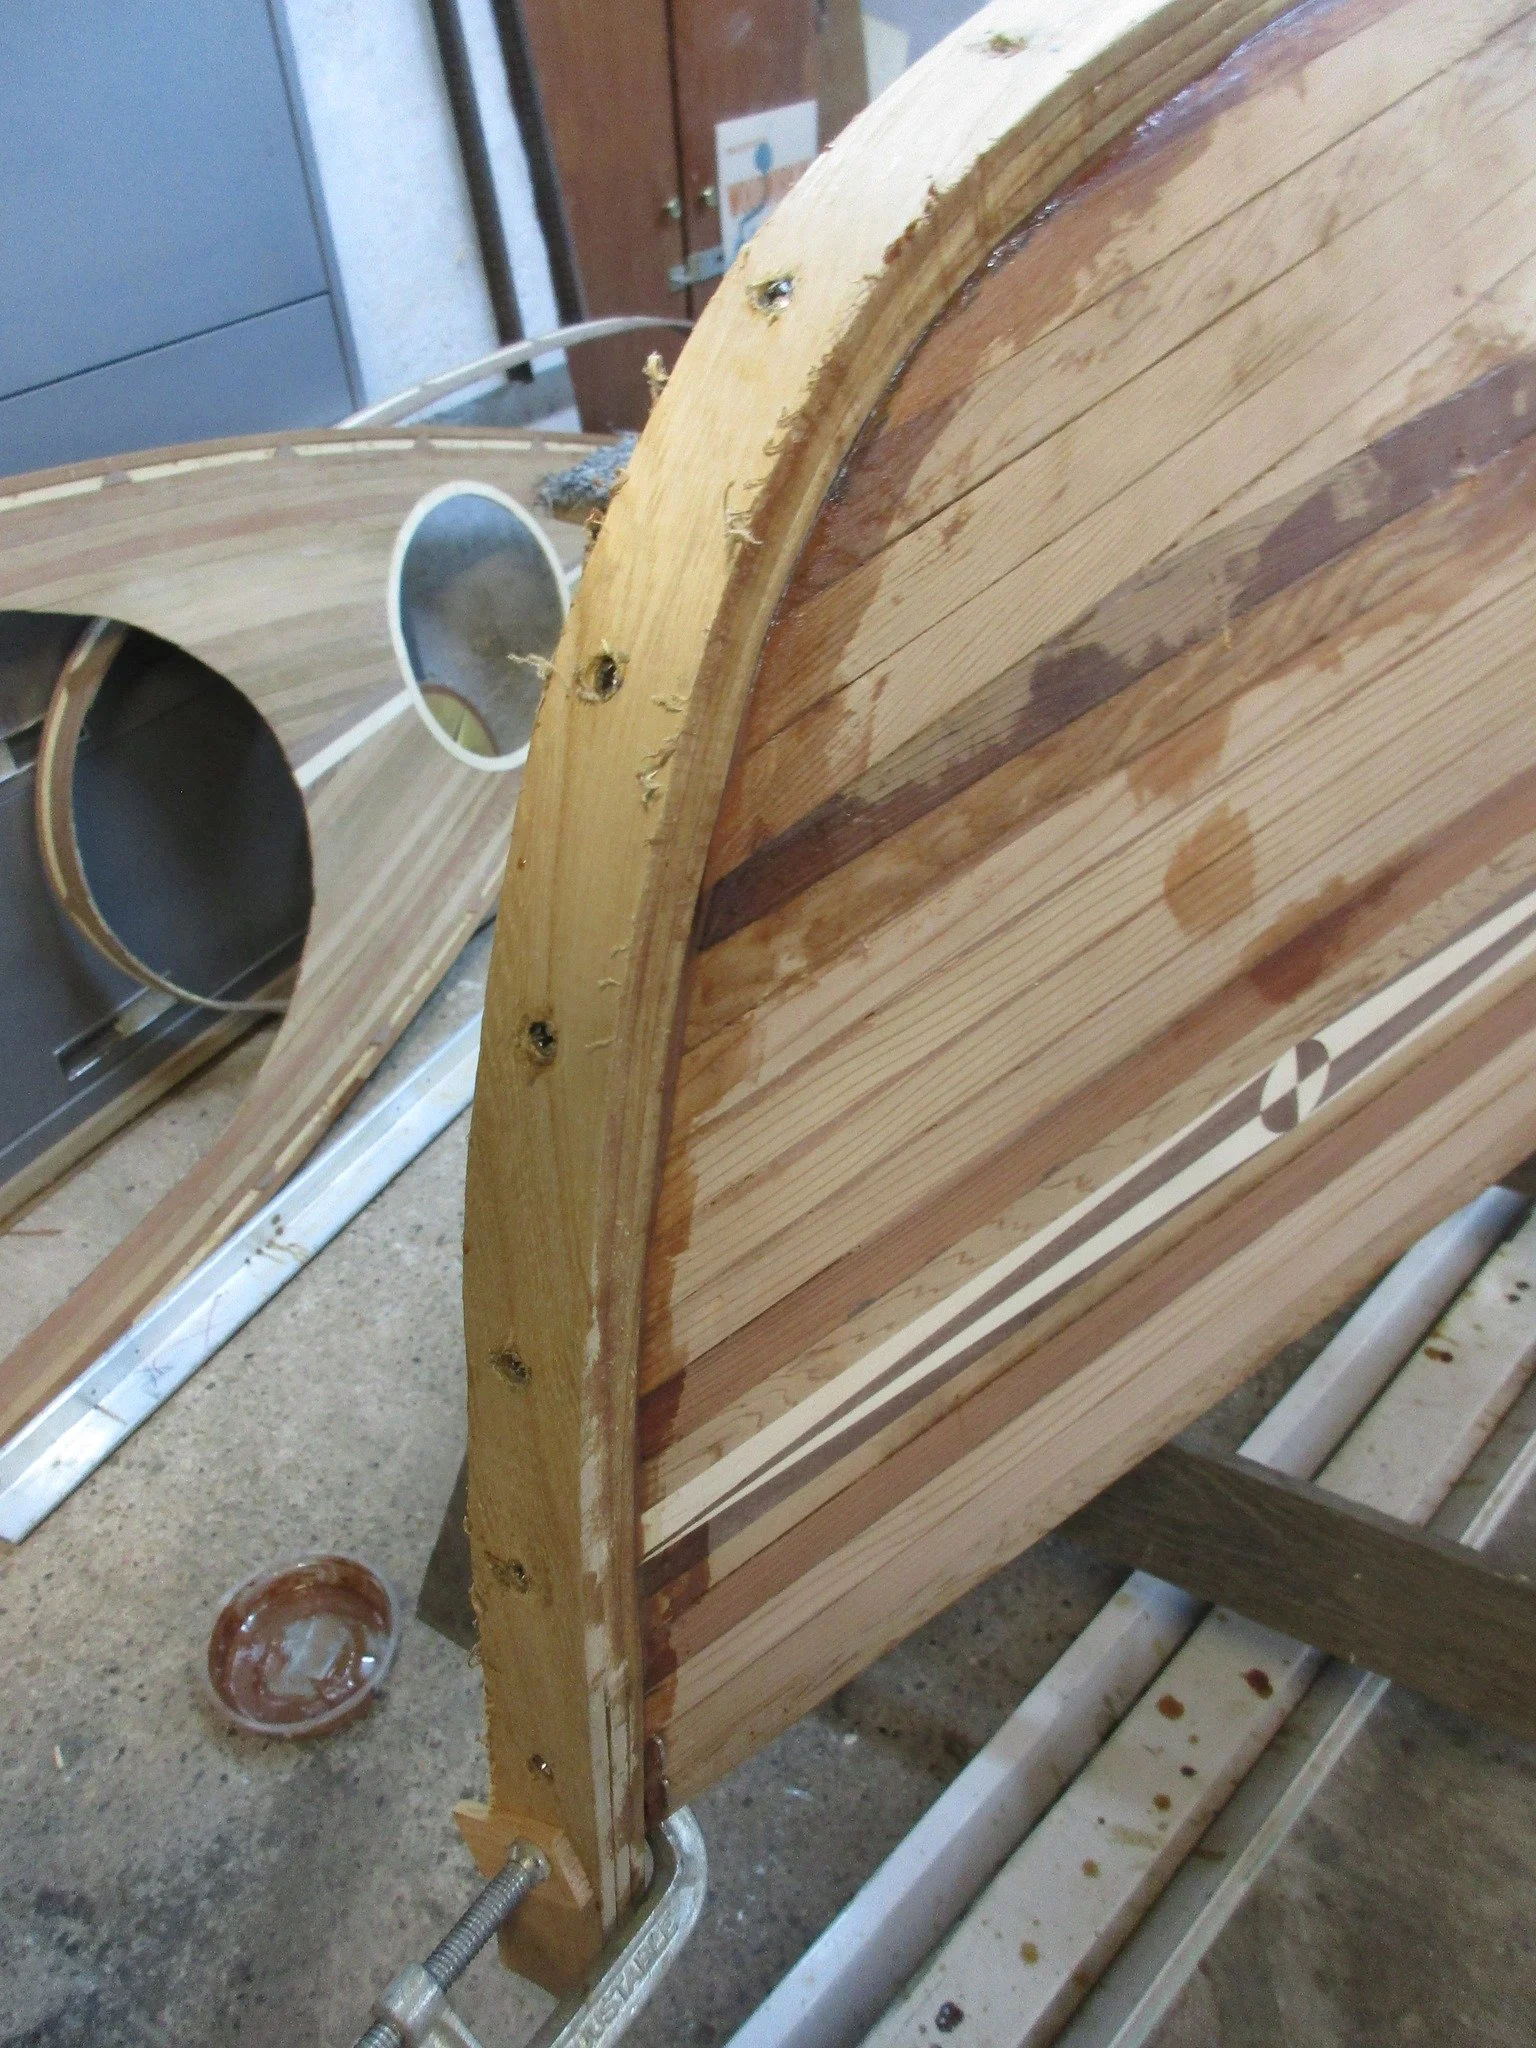
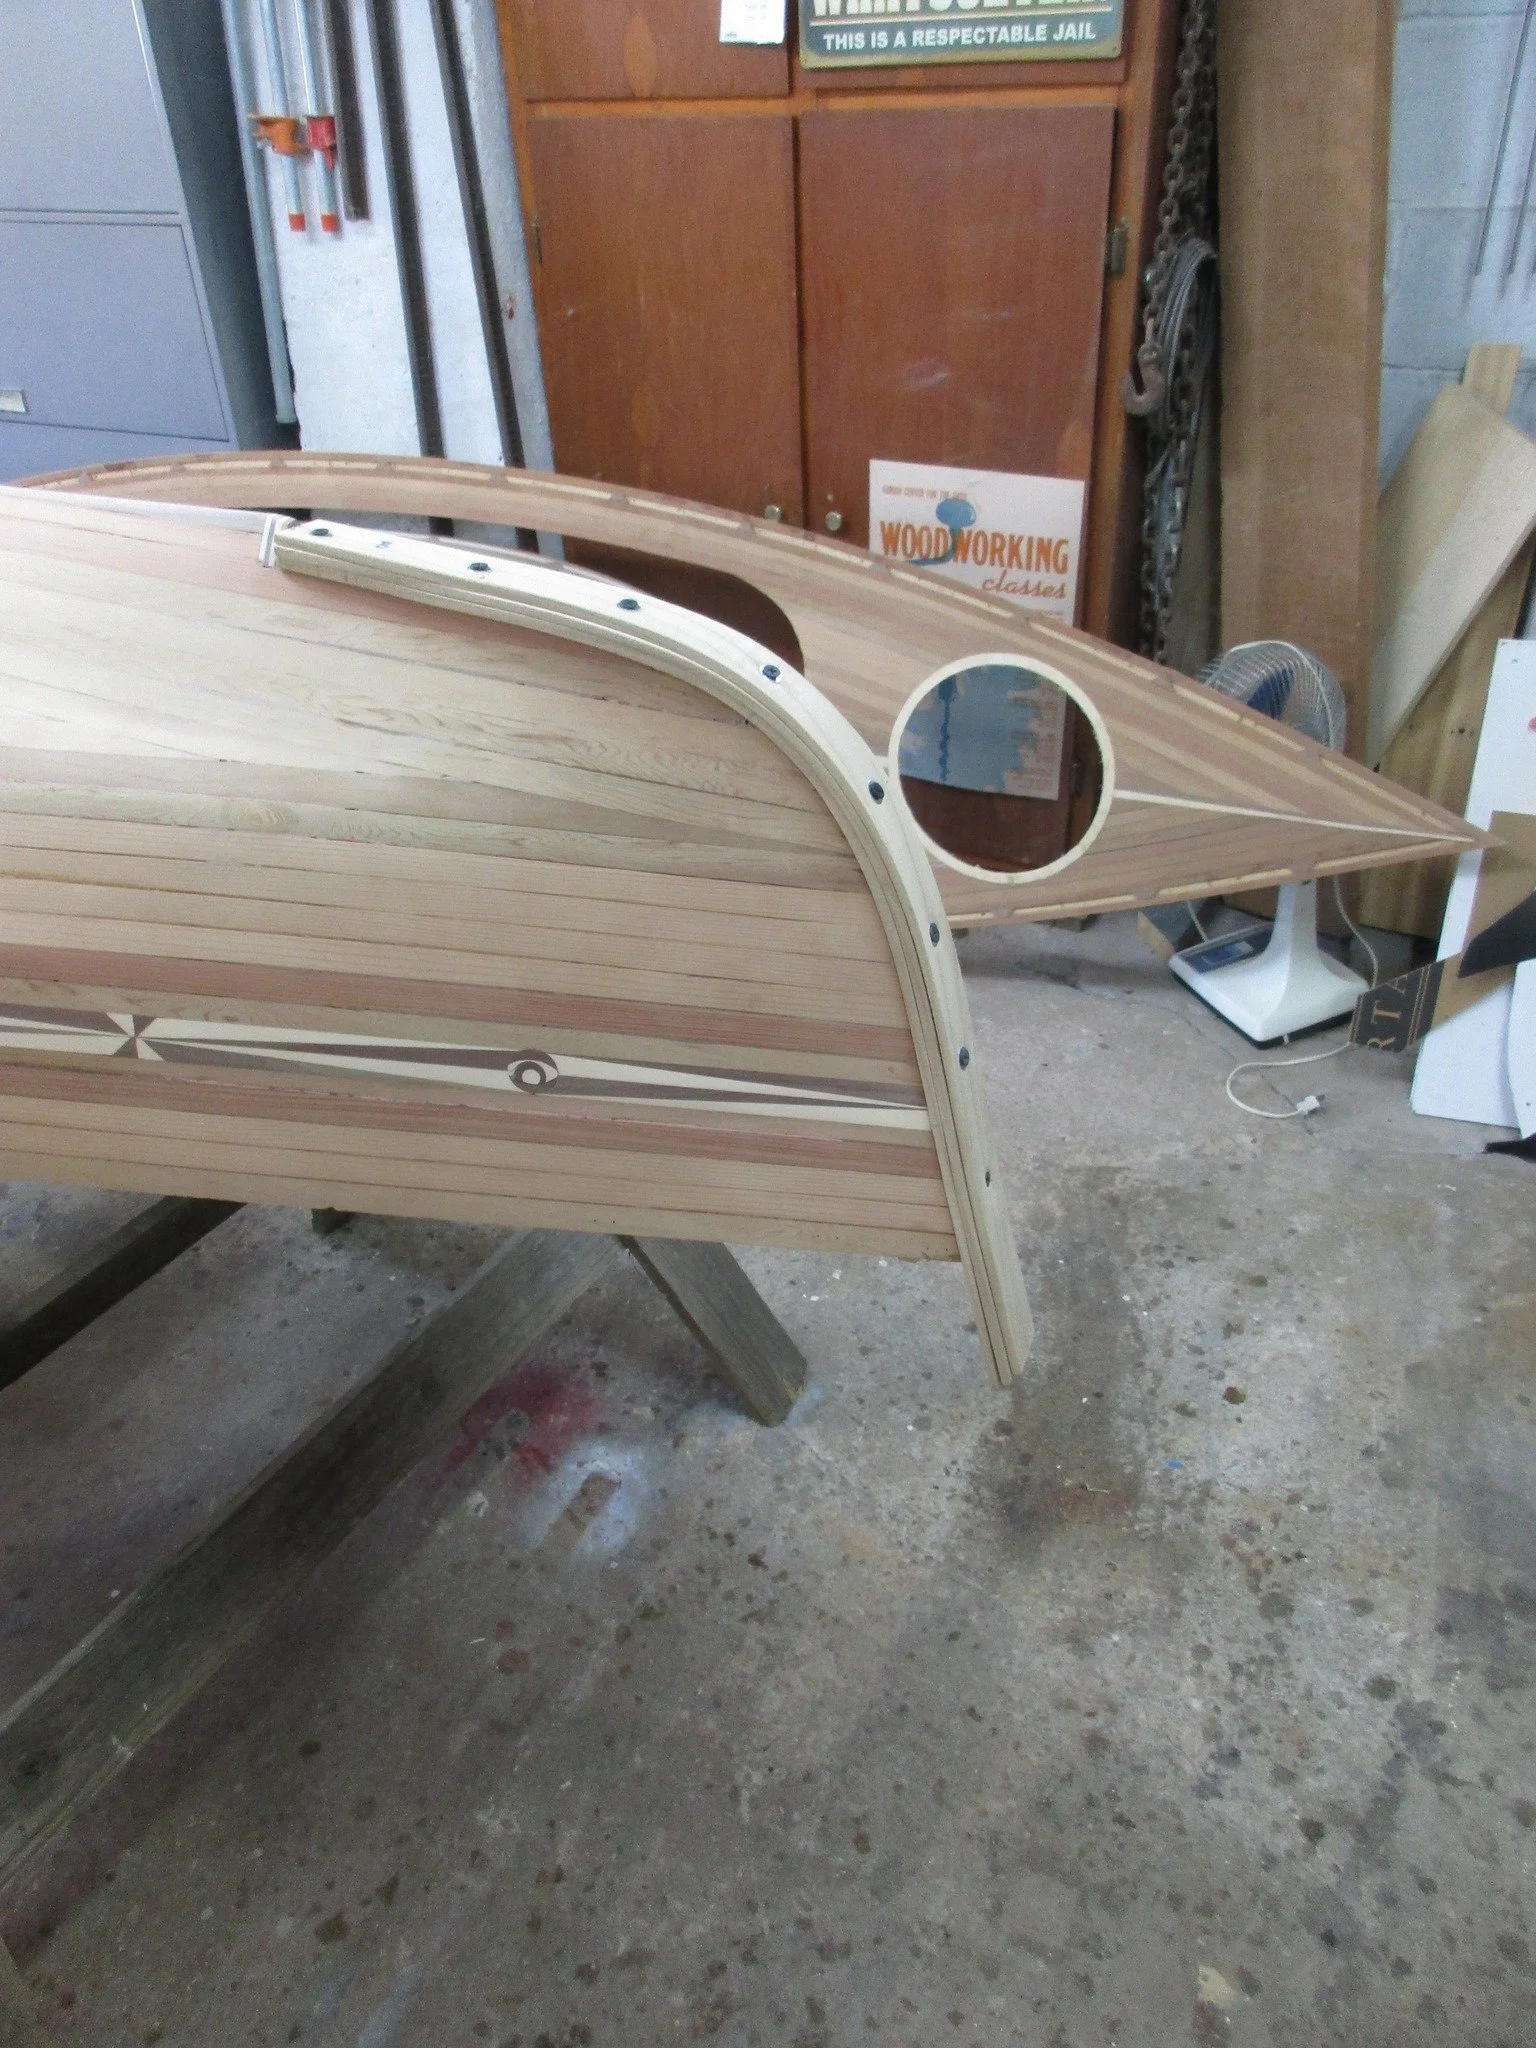
Read MoreI've got both stems glued to the boat, one yesterday and one today. The epoxy is set up enough to work on yesterday's and I have it shaped down to a 1/2" leading edge. That 1/2" will allow me to screw a 3/8" brass stem band to the leading edge of each stem. Very nautical looking.
Read MoreWell, now that was a mess. If you remember that in an early post about the Dave boats I said that Dave went to great lengths to build hulls without using staples. The staples hold the strips in place while the glue dries. Dave built an incredibly complex form with a kazillion clamping surfaces to clamp the strips rather than staple them.
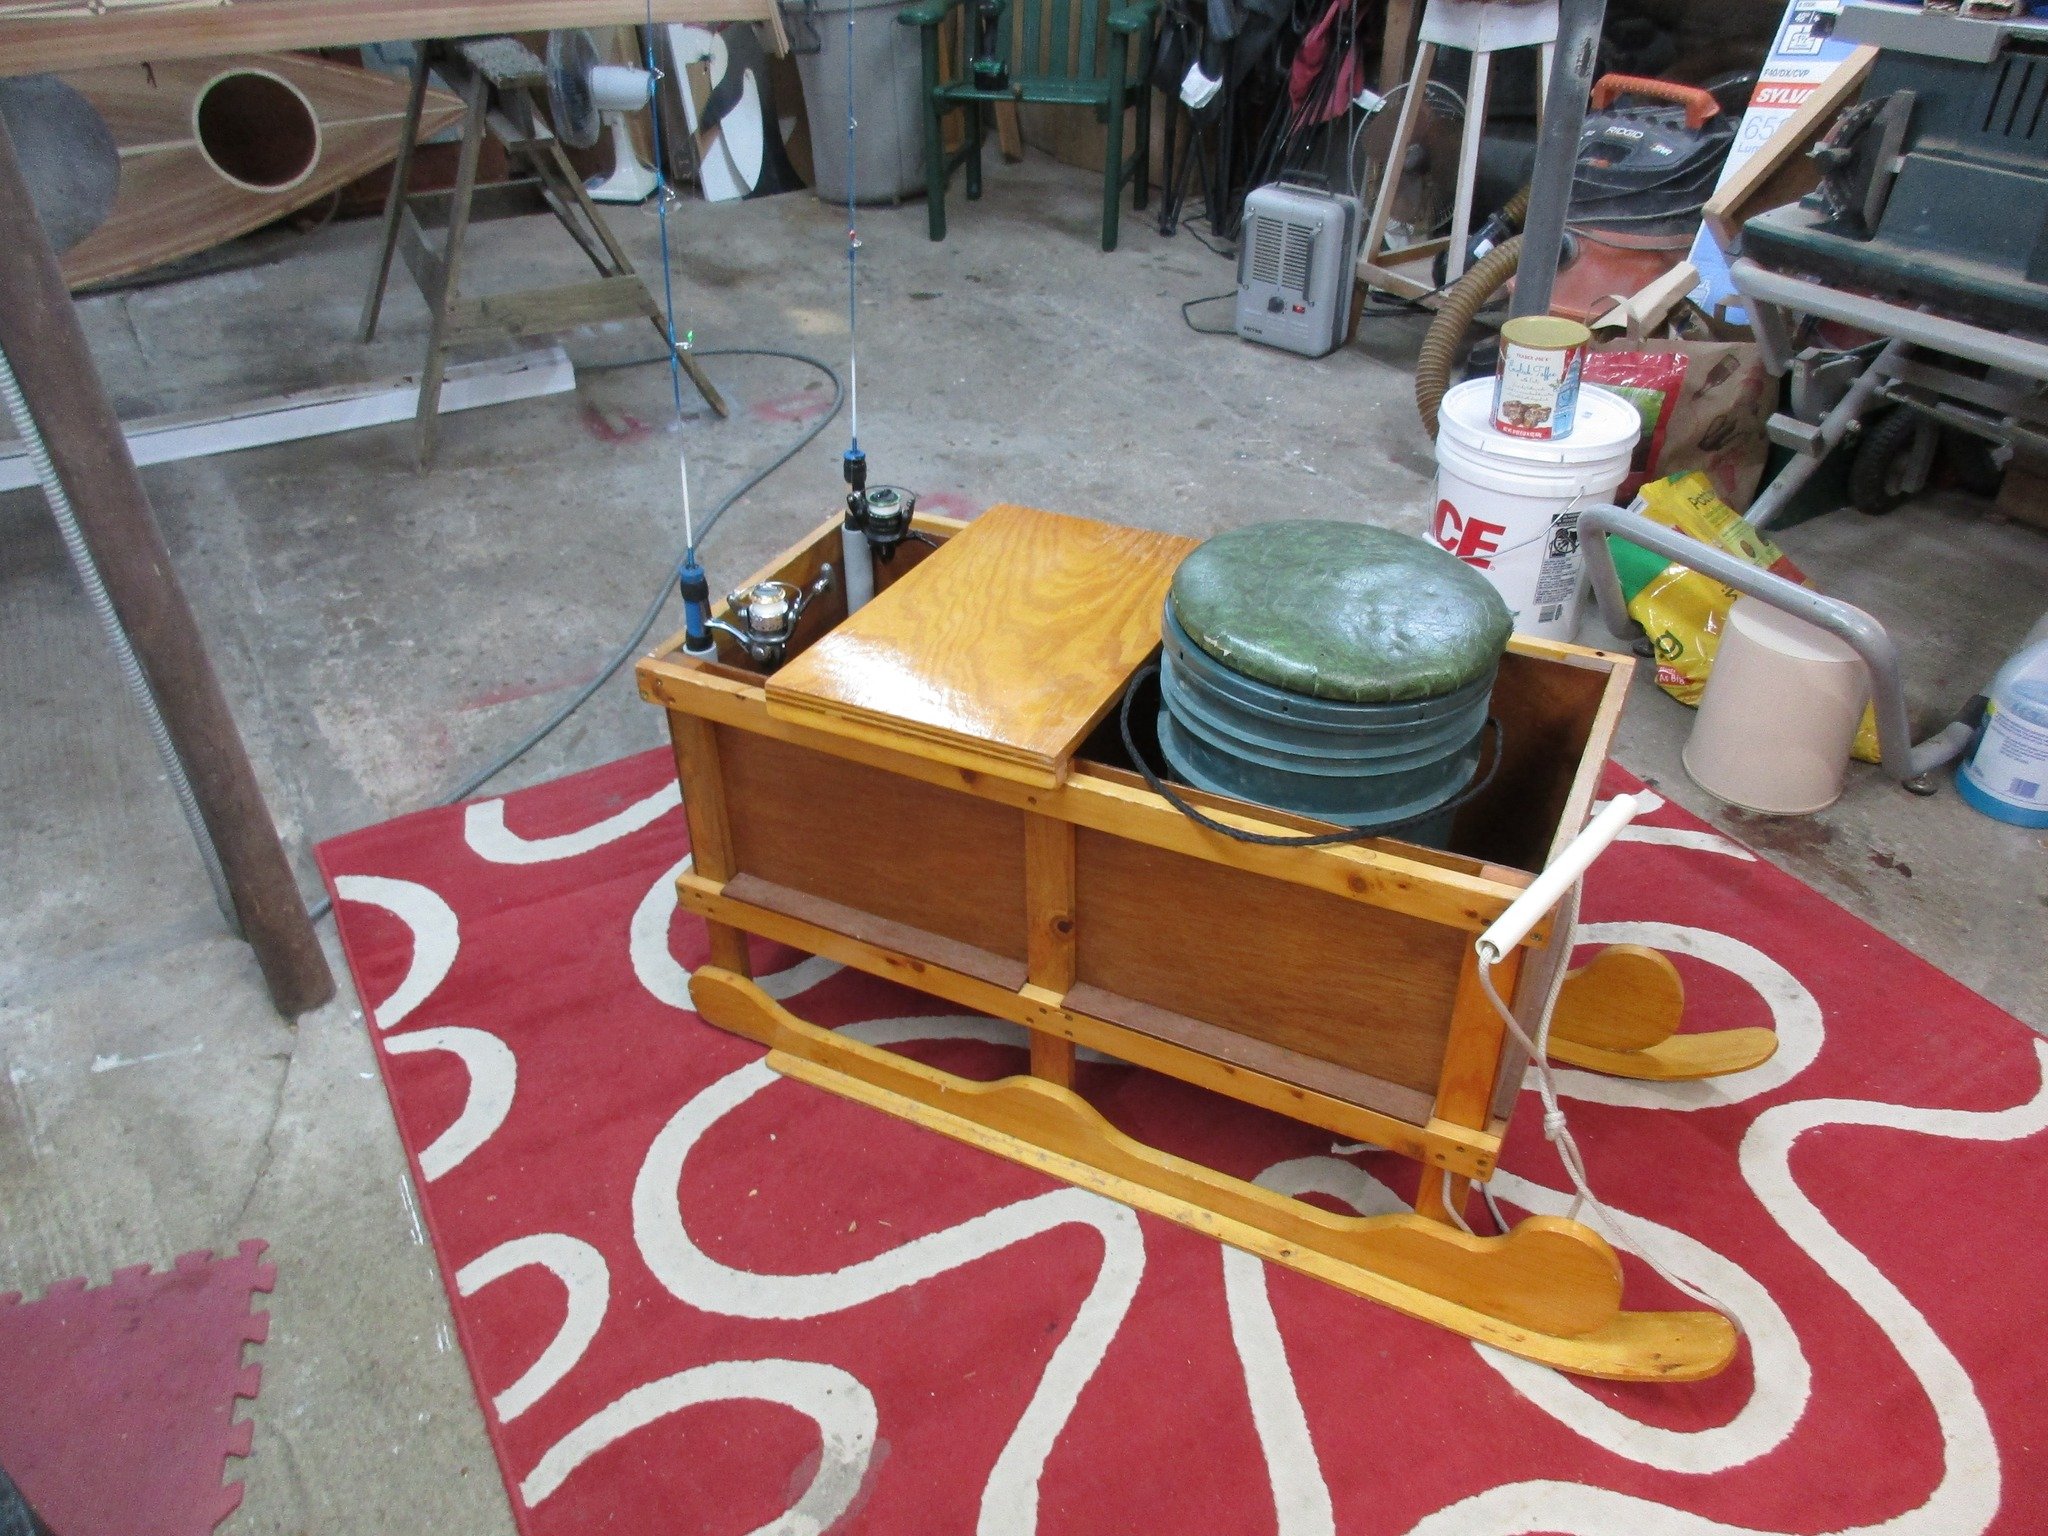
Read MoreWell, you can't work all the time! When we moved to Michigan 24 years ago I had never gone ice fishing but I figured it was something that I was going to have to do. One of my first projects was to make this box to carry my stuff and it has worked fine all this time. Not shown is my hand powered auger which is already in the truck as we took it to the lake today to do some scouting.
Read MoreUnlike the three other Dave boats that I finished, this one hasn't been fiberglassed. Before laying the cloth on the hull the hull has to be sanded smoothly enough to not snag the cloth. In addition to that this hull didn't have the outer stems which will effectively act as bumpers for the boat.
Read MoreI returned boat number 3 yesterday and we finally got Dave boat number 4 to my house and I'm figuring out what all needs to be done and in what order. The hull is still on the building jig and I'll leave it there until I get the fiberglass on the outside of the hull. Before then I've got a bit of work to do one the hull.
Read MoreThree down and one to go. This is the third boat that I have taken on to finish this winter and I have one more (at least one) to go. The first three boats were mostly built and I put a finish on them. The fourth boat is partly built and I'm going to have to put on my thinking cap for this one.
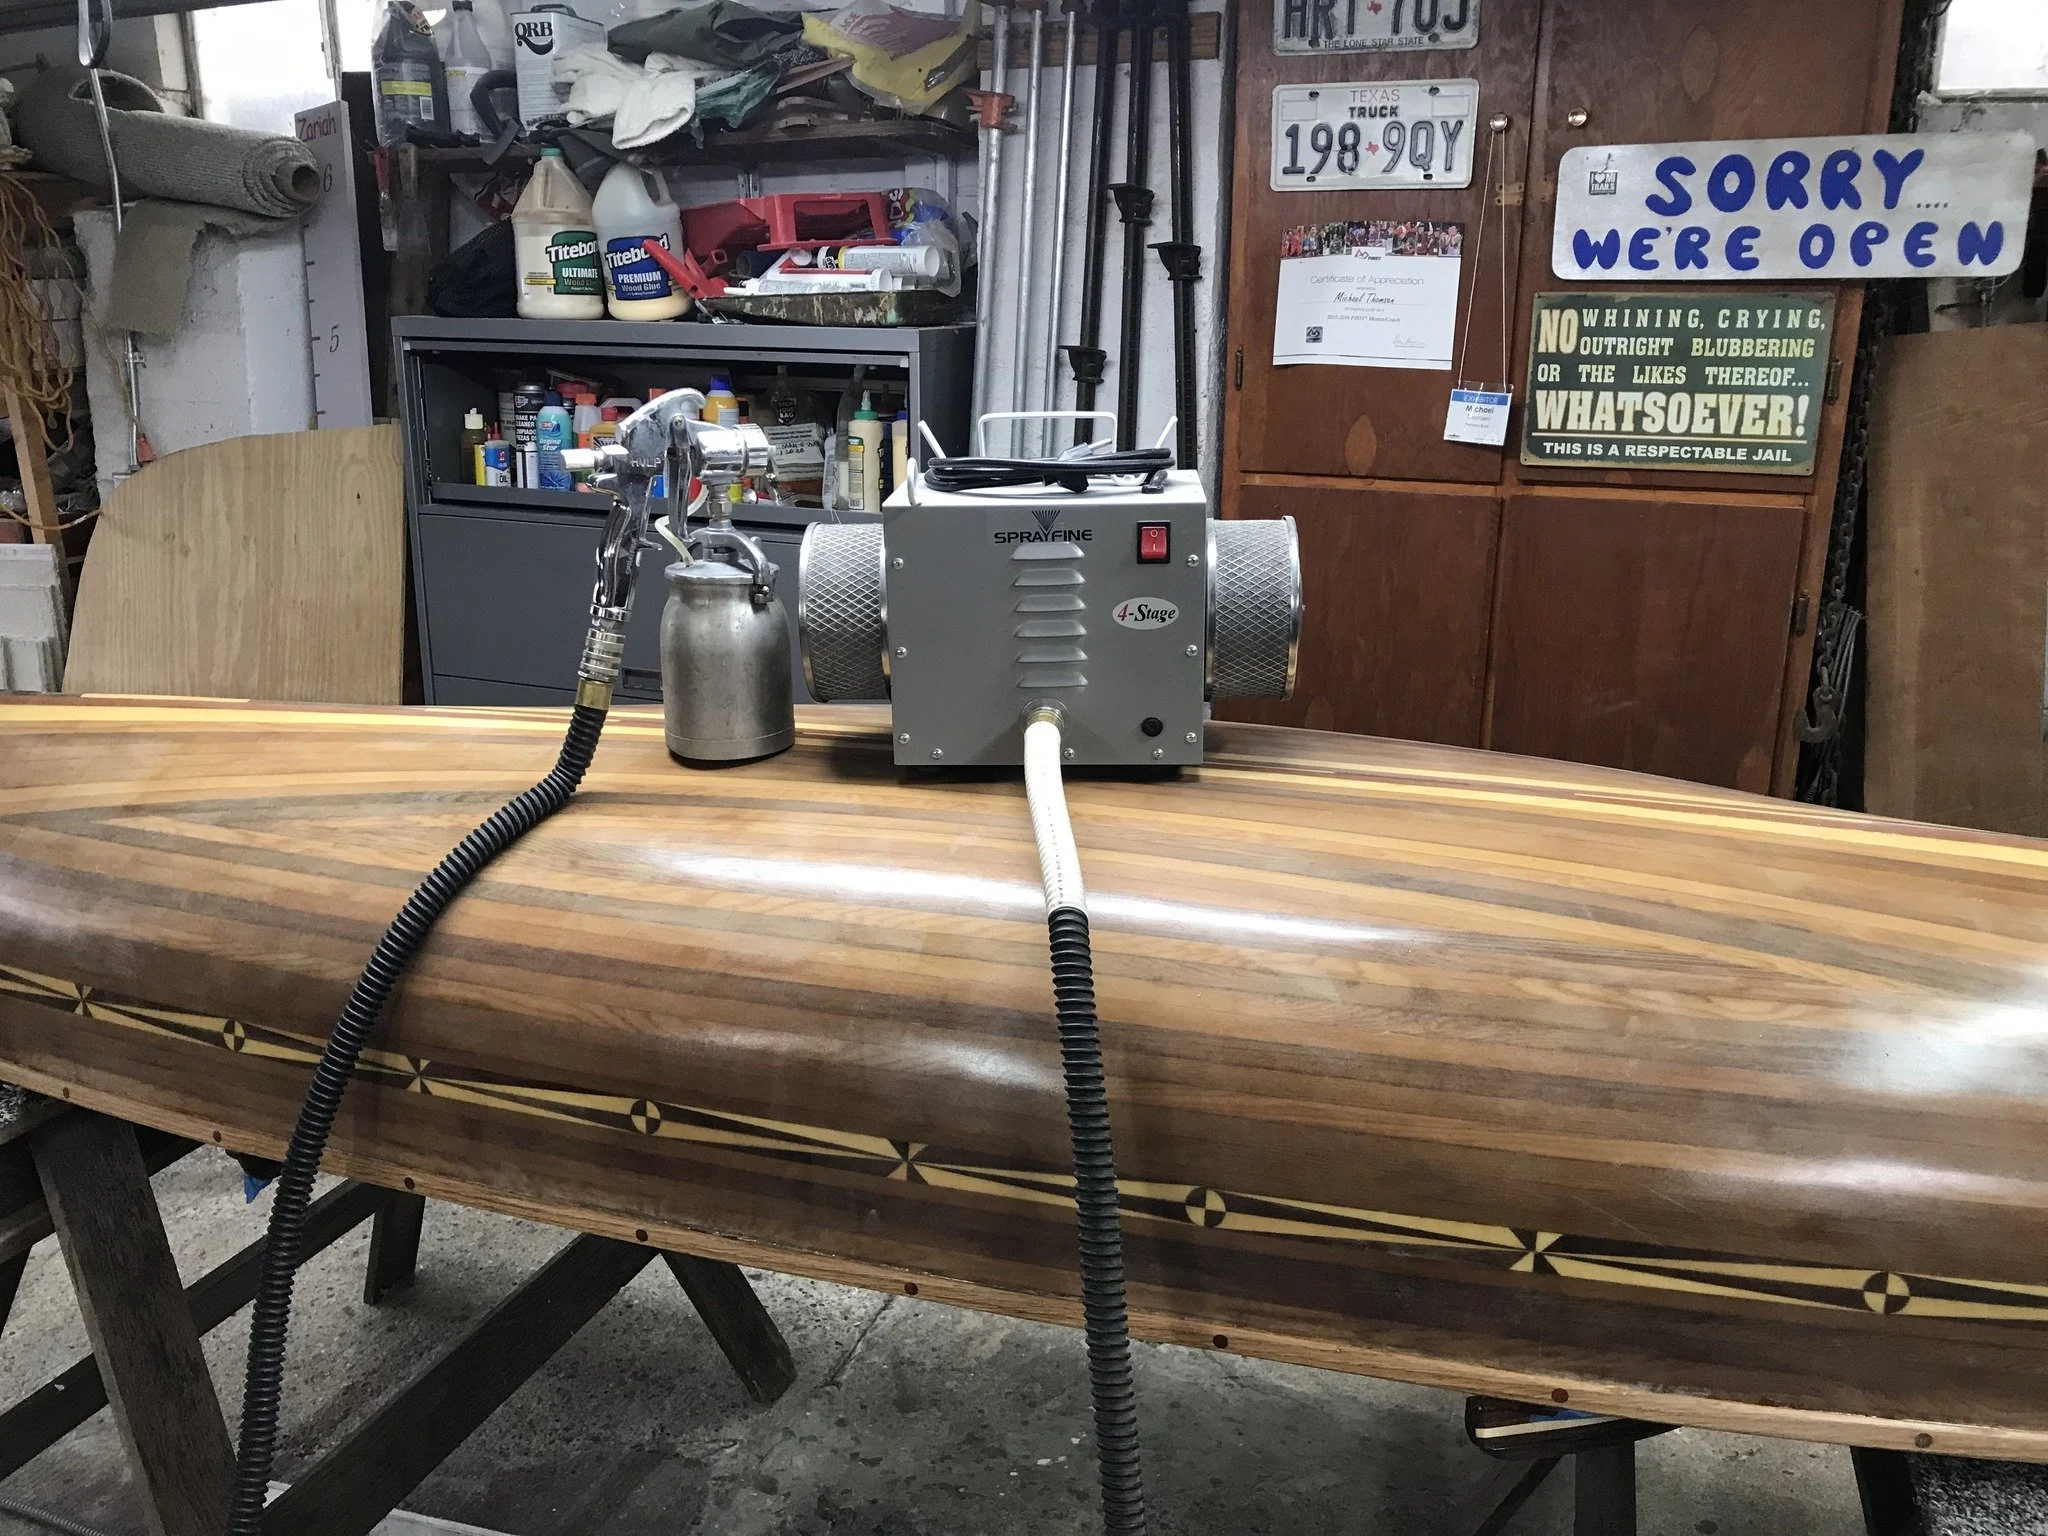
Read MoreSpray day! This picture is of the handiest thing since pockets on a shirt. It is a high volume low pressure paint sprayer (HVLP) and is one of my best friends.
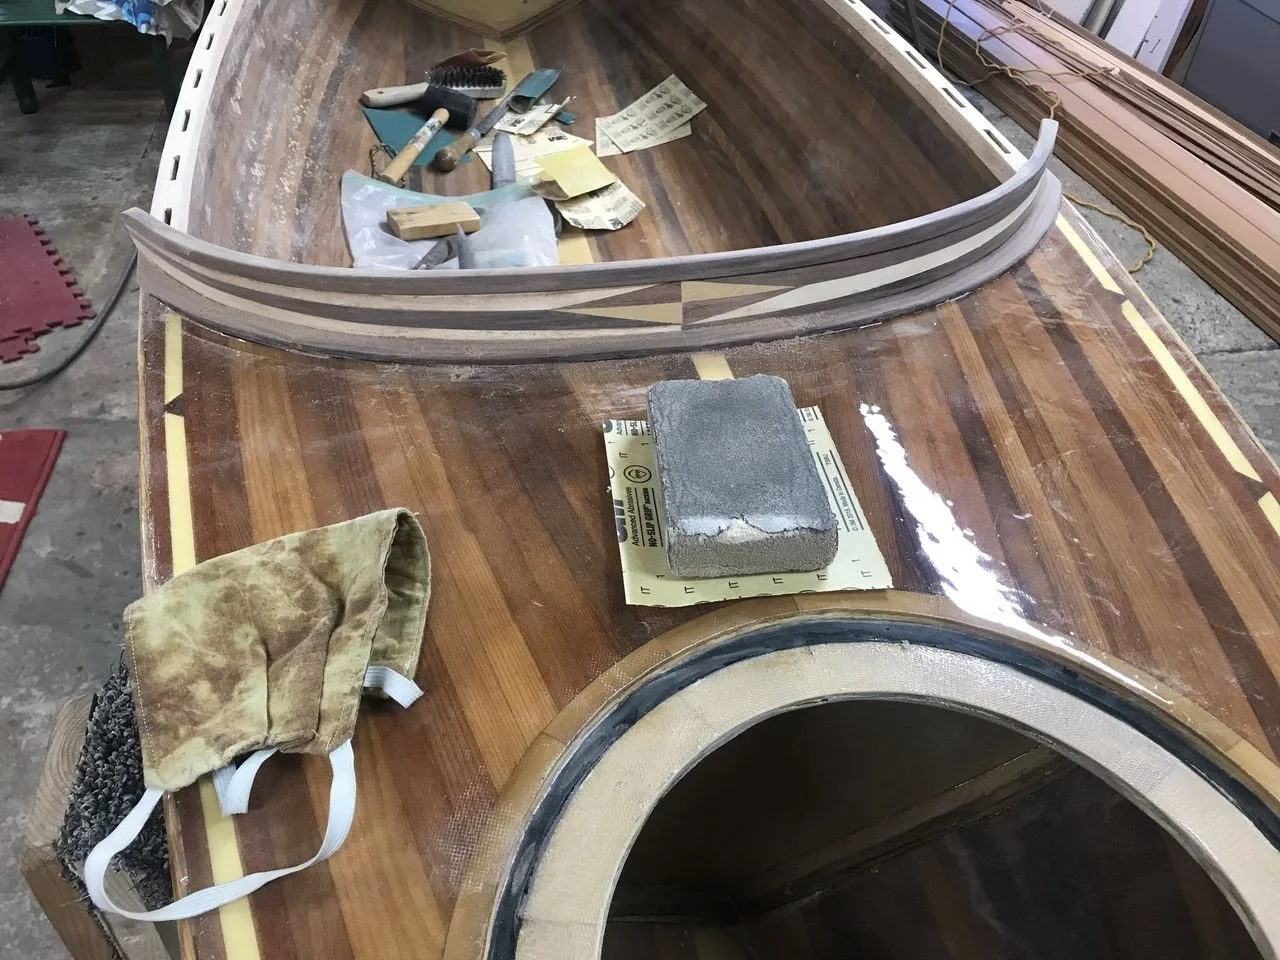
Read MoreBORING! I haven't posted in awhile because I haven't done much more than sand, sand, sand on Dave boat #3. In my previous post I was sanding and putting a coat of polyurethane on the wooden gunwales and coamings. Since then I've been sanding the epoxy resin on the hull and decks. And sanding and sanding and sanding. I'm ready now to get a coat or two of the polyurethane on the rest of the boat in preparation for spraying the final coat on everything.
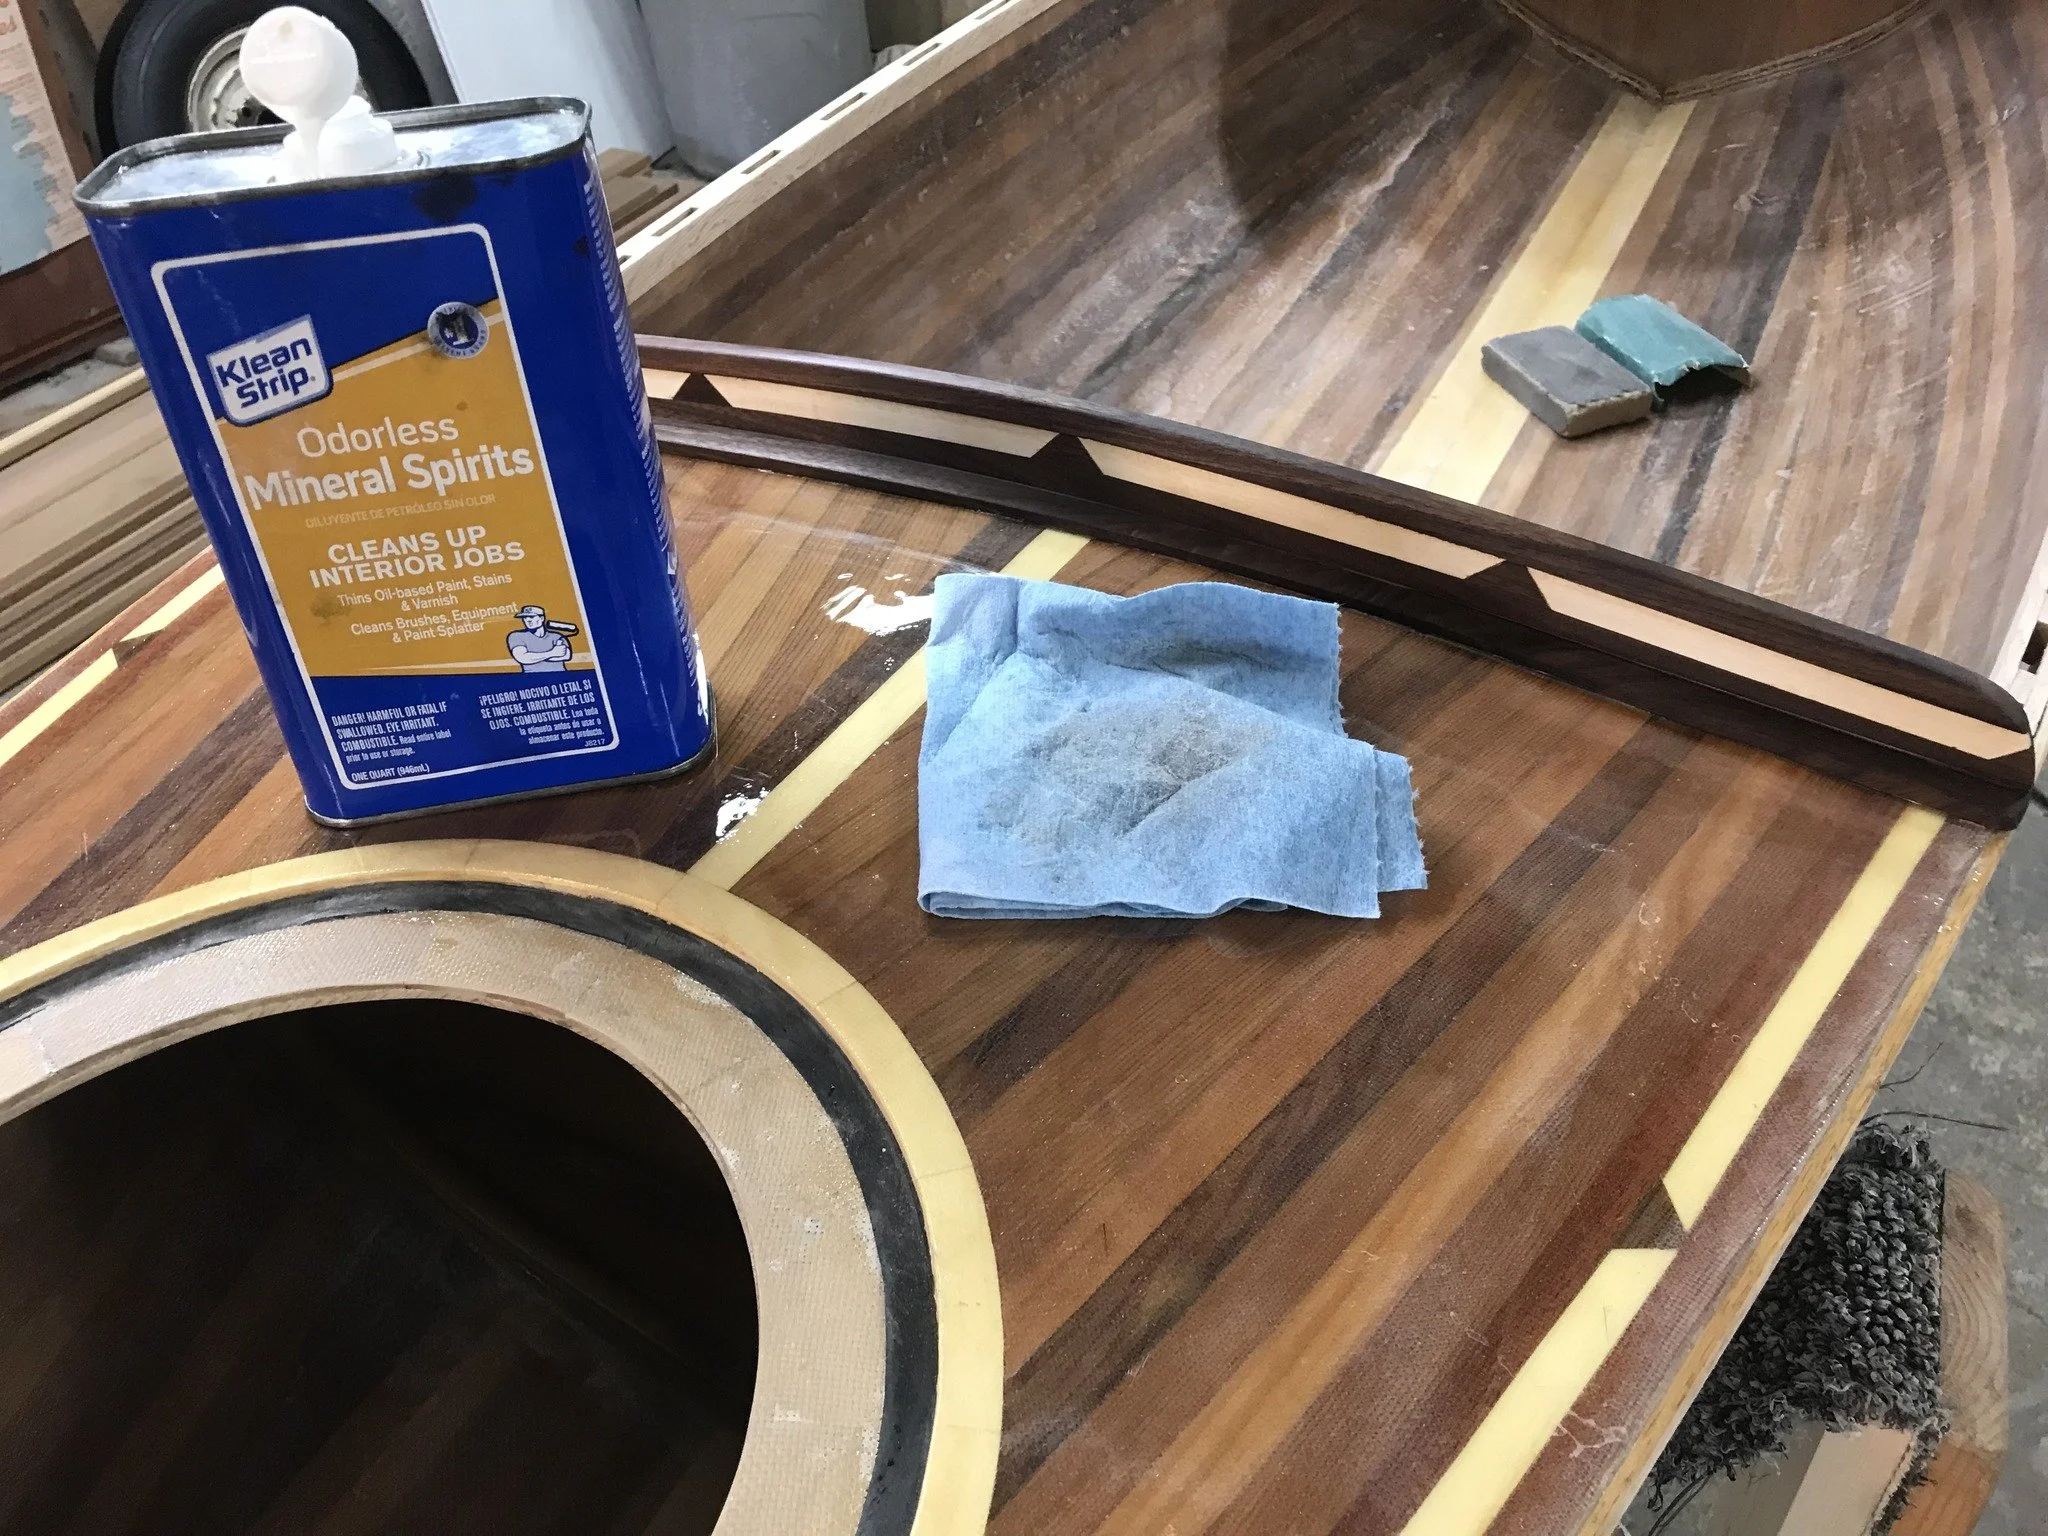
Read MoreWhen the sanding is done I vacuum the wood and then wipe it down with a rag. I then make a tack rag with a blue paper towel ( they're supposedly lint free) and mineral spirits and wipe the wood again. Mineral spirits is the solvent for the polyurethane that I use as a base coat. I dilute the polyurethane with mineral spirits about 3 parts poly to 1 part thinner and put 1 coat of finish on all wood surfaces to enhance the grain of the wood.
Read MoreThere doesn't appear that there is a lot of wood to sand on this boat but it takes time to work through it all. The bow coaming is the nicest of any of the boats and I want to make sure that I go over it carefully. The gunwales and coamings were awfully rough when I began so I started shaping and smoothing with rasps and a plane.
Read MoreI've got the first coat of resin on the decks and hatch covers and should be able to get a second coat on this evening. When that coat is dry I'll start sanding on all of the wood parts (coamings and gunwales).
Read MoreI brought Dave Boat 3 home 10 days ago and haven't done anything with her until yesterday. Life got in the way mostly spending time putting flower beds to rest for the winter and corralling the neighbors leaves which end up in my yard.
Read MoreI returned Dave Boat 2 yesterday and came home with Dave Boat 3. I think I've gotten these boats in the order which they were built. Each boat is a bit different from the others and this one has some tricks that weren't in the other boats.
Read MoreDave Boat 2 is done and ready to go home. An advantage to using a water borne finish is the speed at which they dry. I had finished sanding on Thursday and was able to get a diluted coat of oil based urethane on the boat on Thursday and Friday.
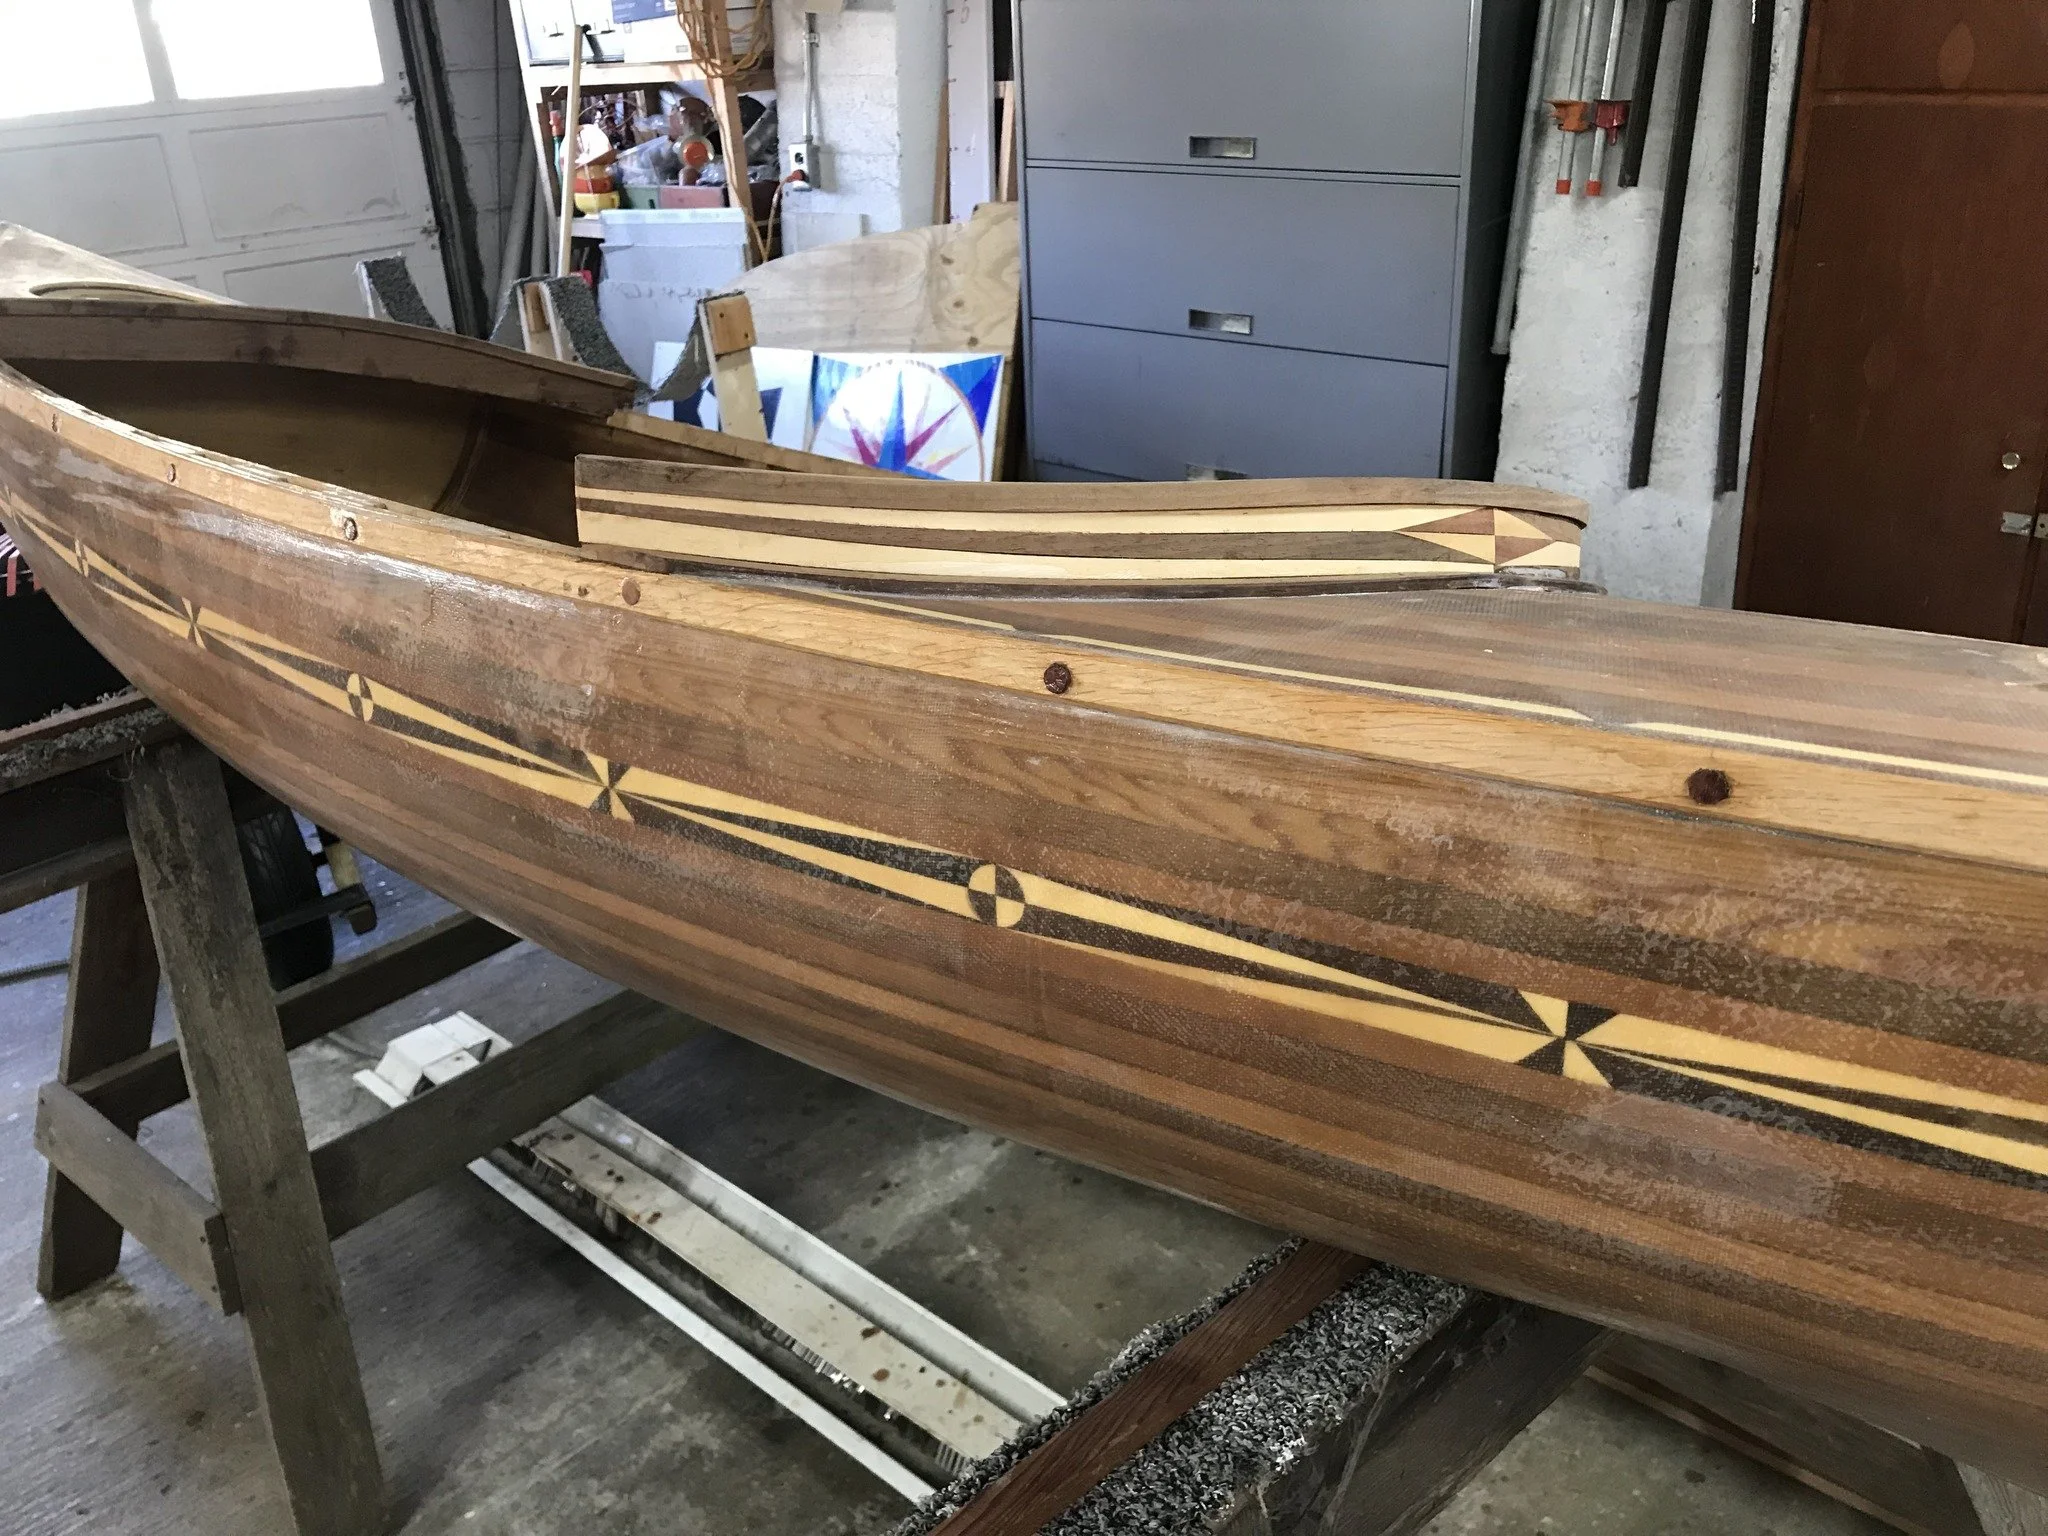
Read MoreSand, sand, sand. Take a break, drink some coffee and sand some more. With a random orbital sander I'll make one pass over the hull with 120 grit and then go back and do it again with 150 grit. I'll then vacuum everything and go over the entire hull by hand with 150 grit on a soft sanding pad. The last time around by hand will let me look for anything that I missed with the power sander. Getting closer. Sand, sand, sand.
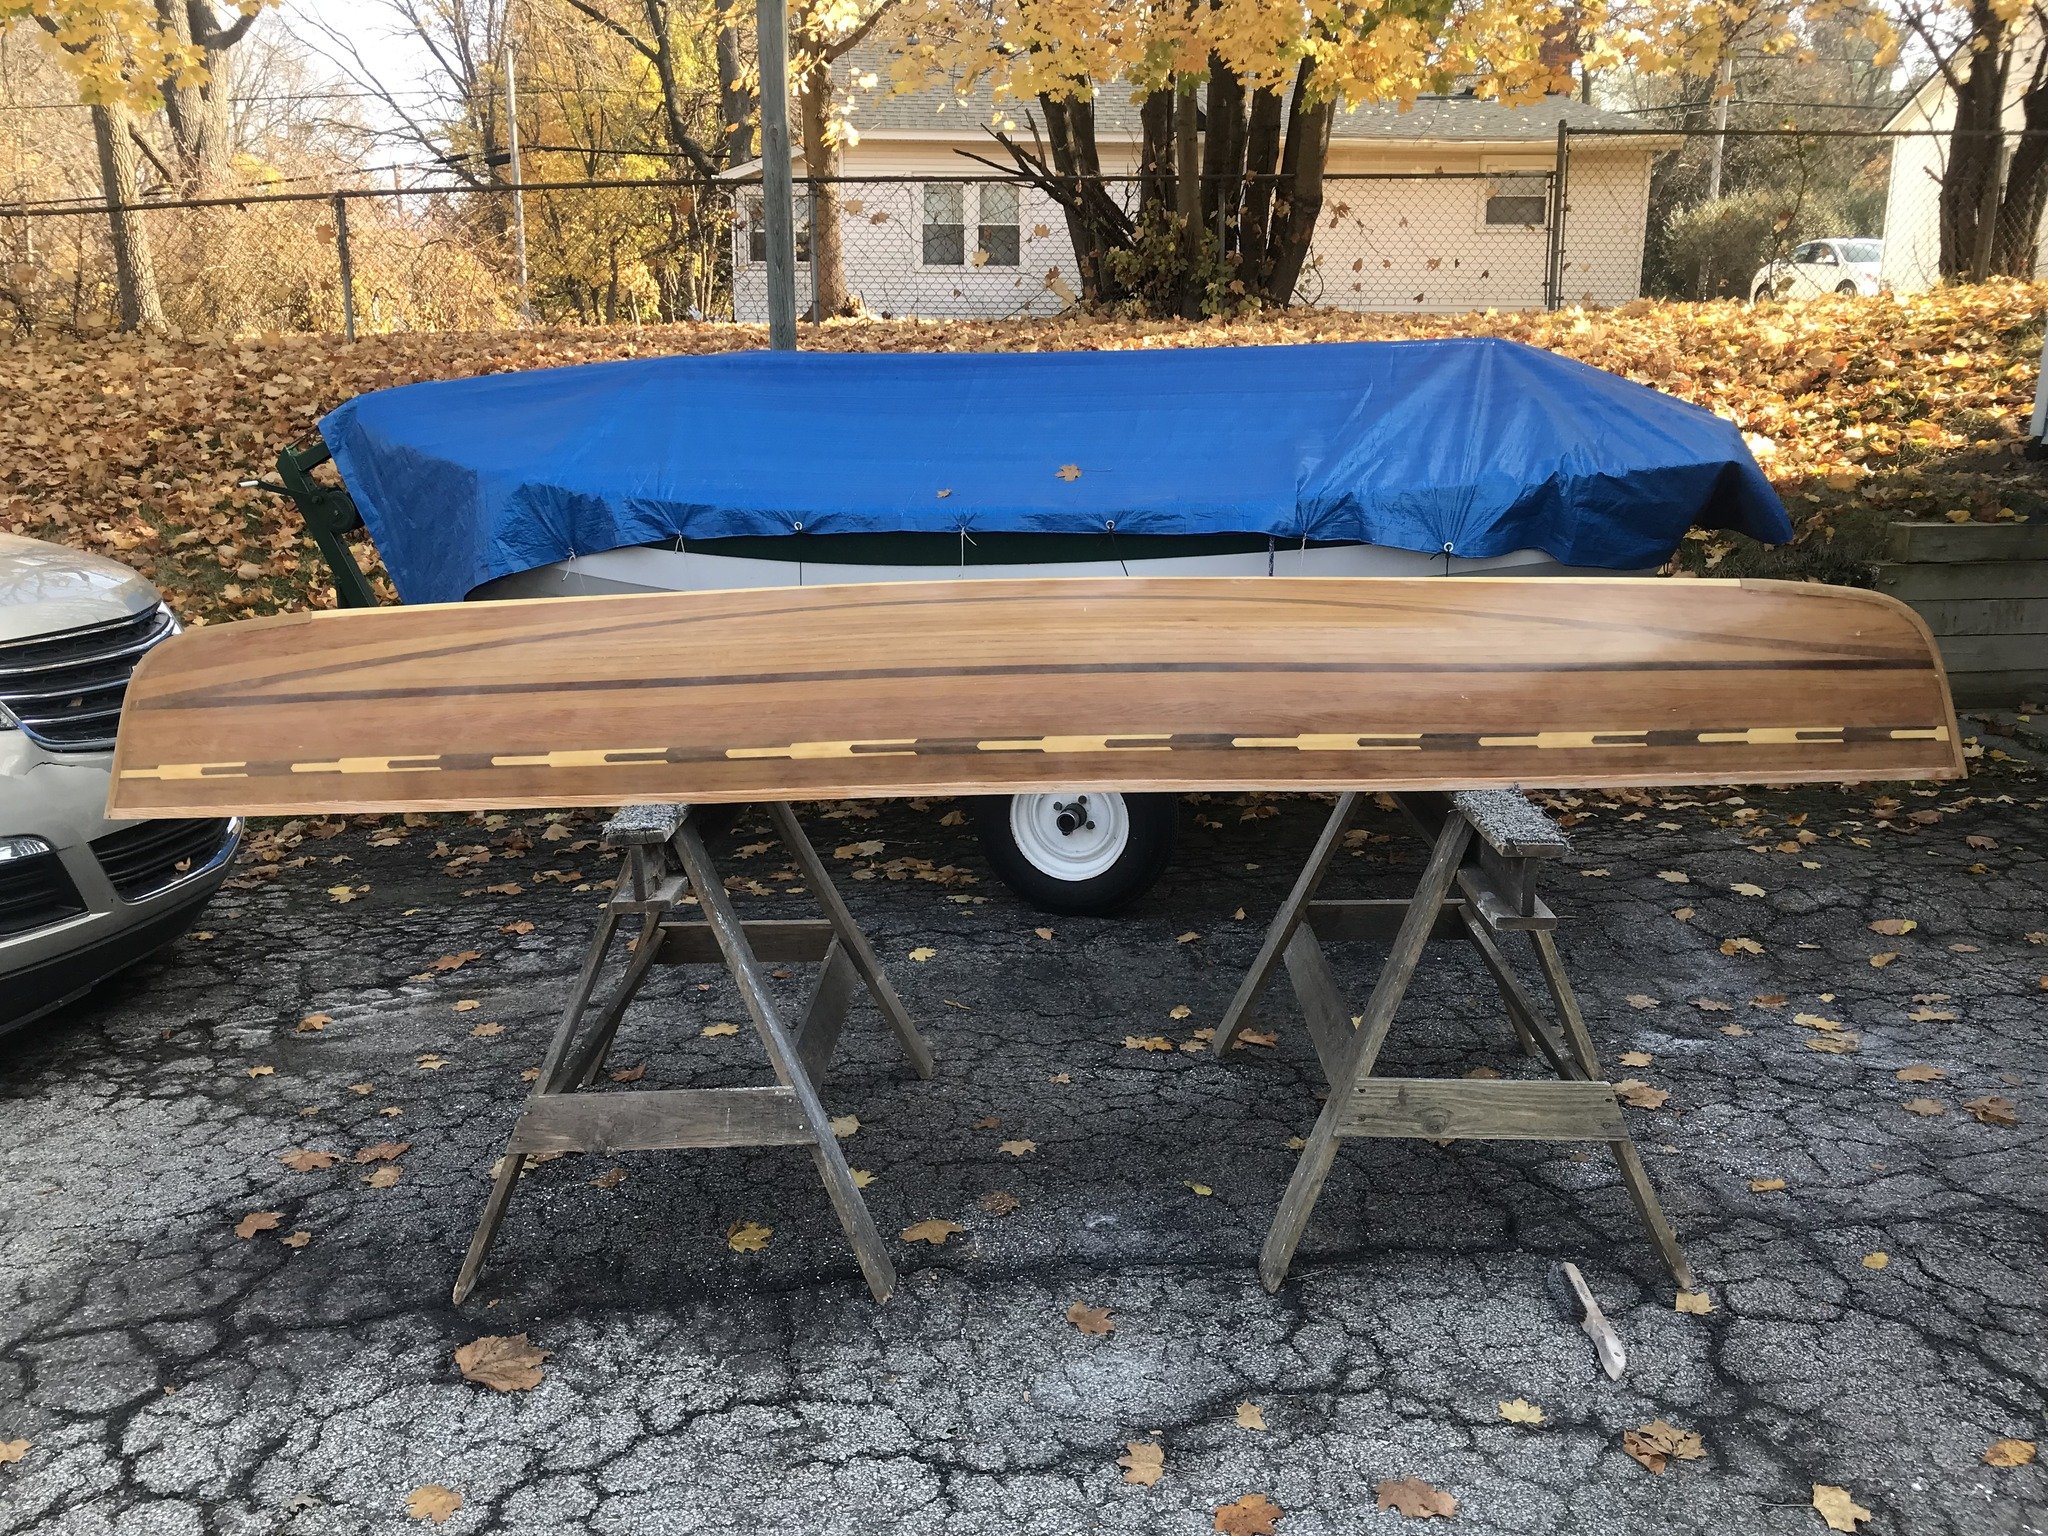
Read MoreDave boat two has gotten all of the epoxy resin that she'll get and it's time to sand, sand, sand. The hull is made of western red cedar and the gunwales are made of white oak. A nice contrast in colors.
Read More

